


Customer Reviews
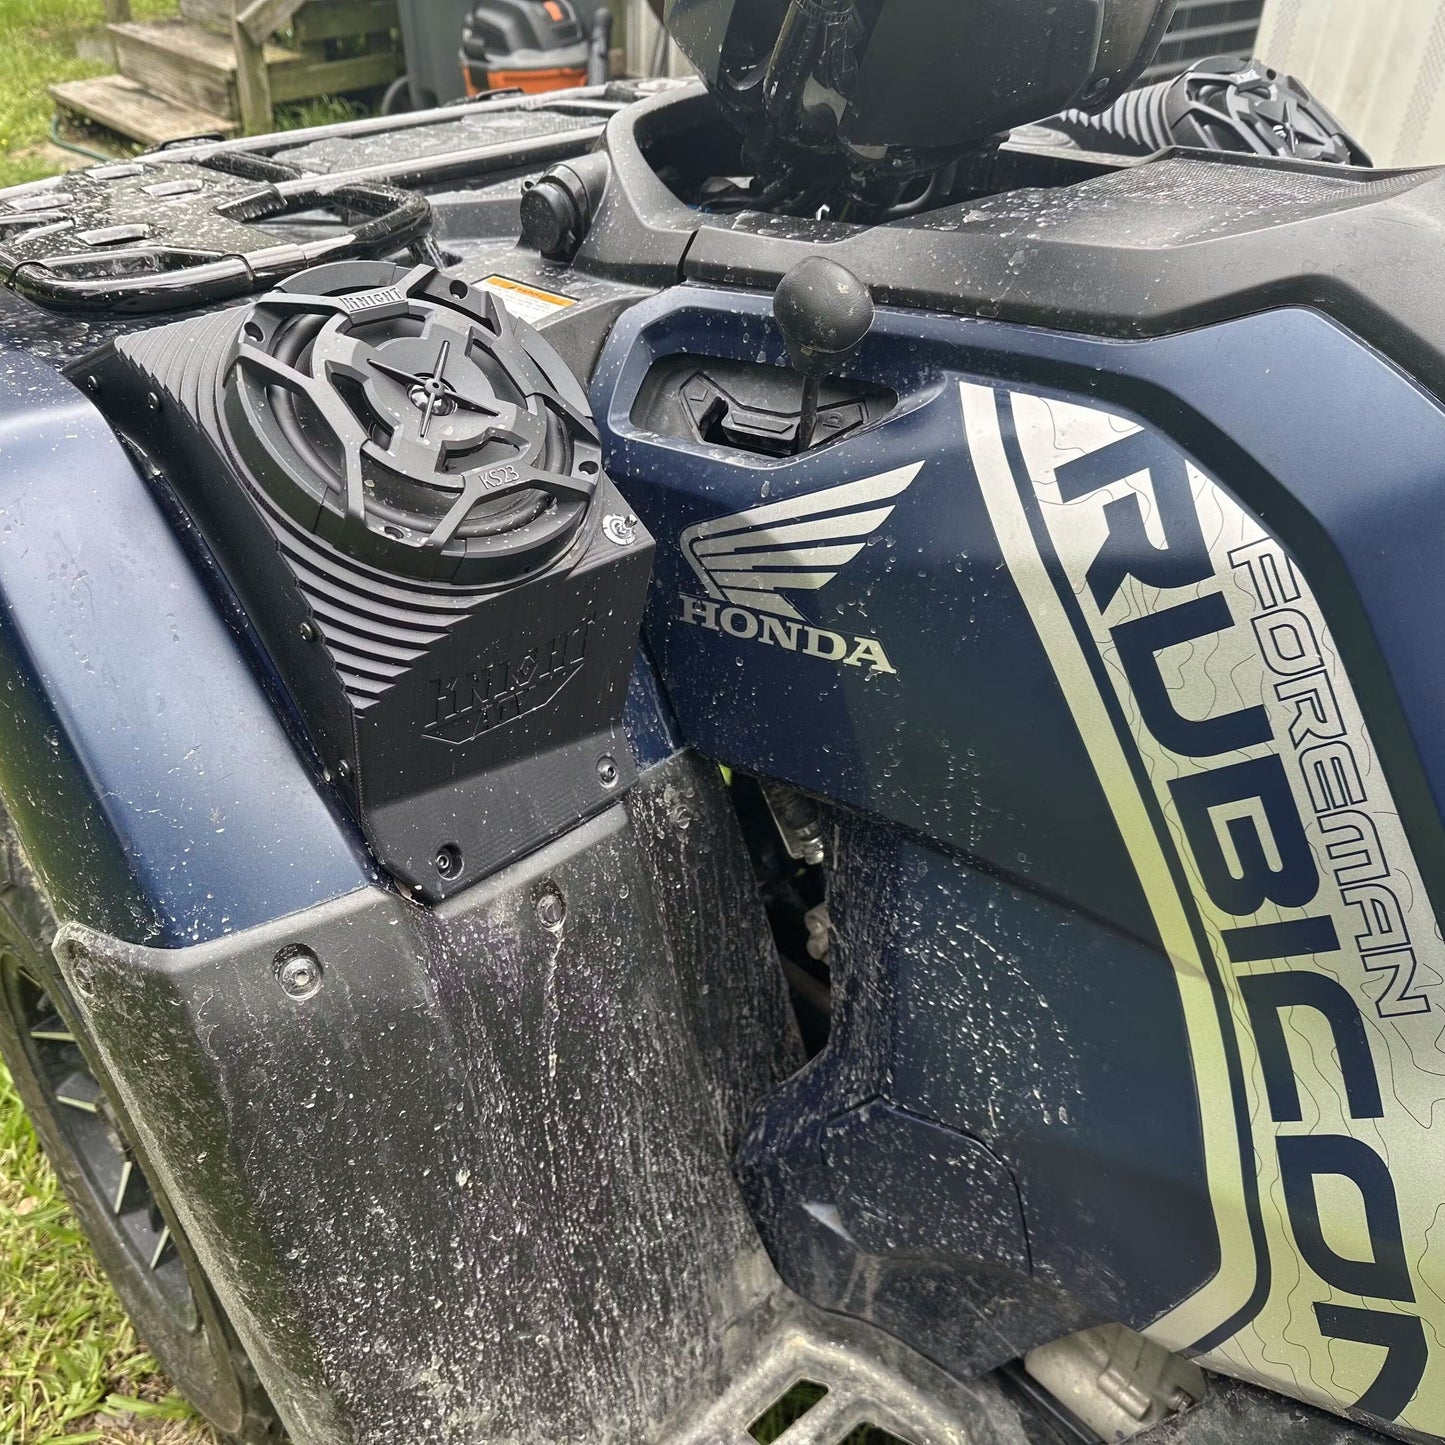
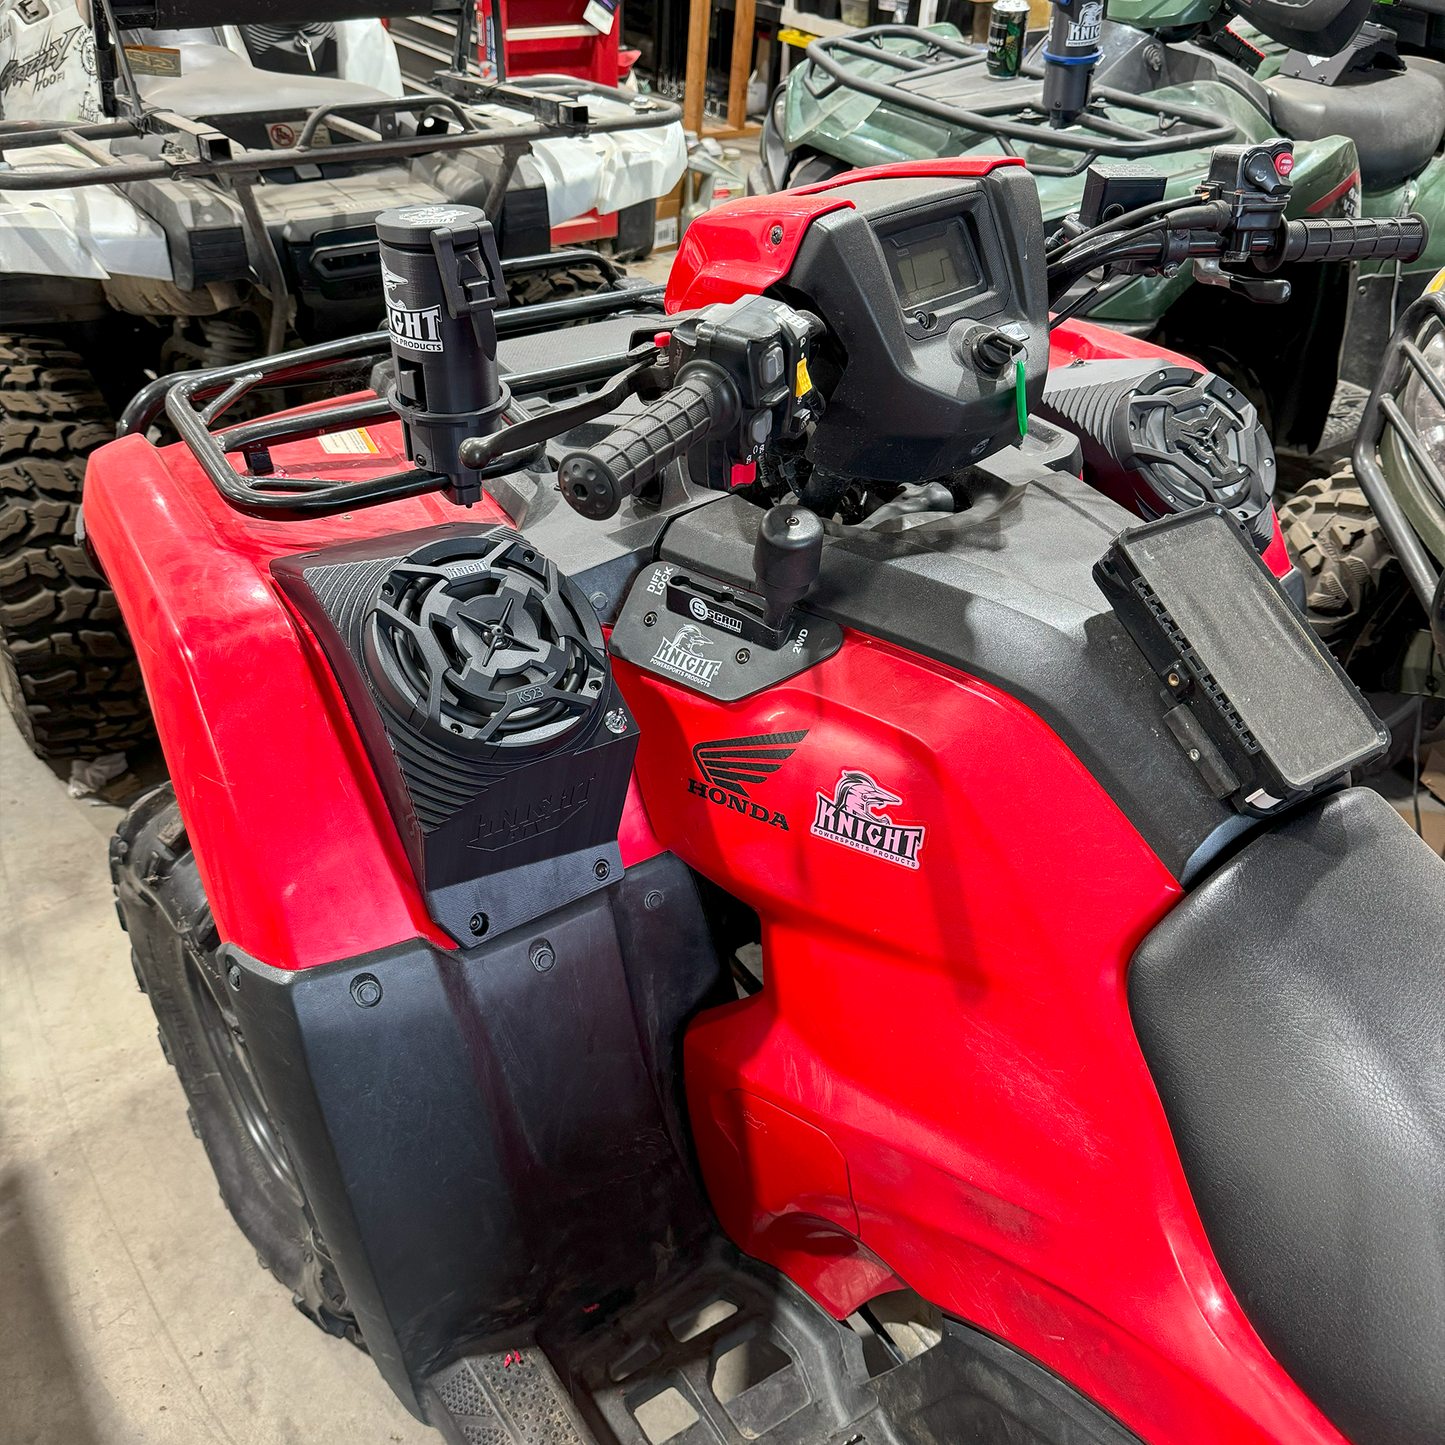
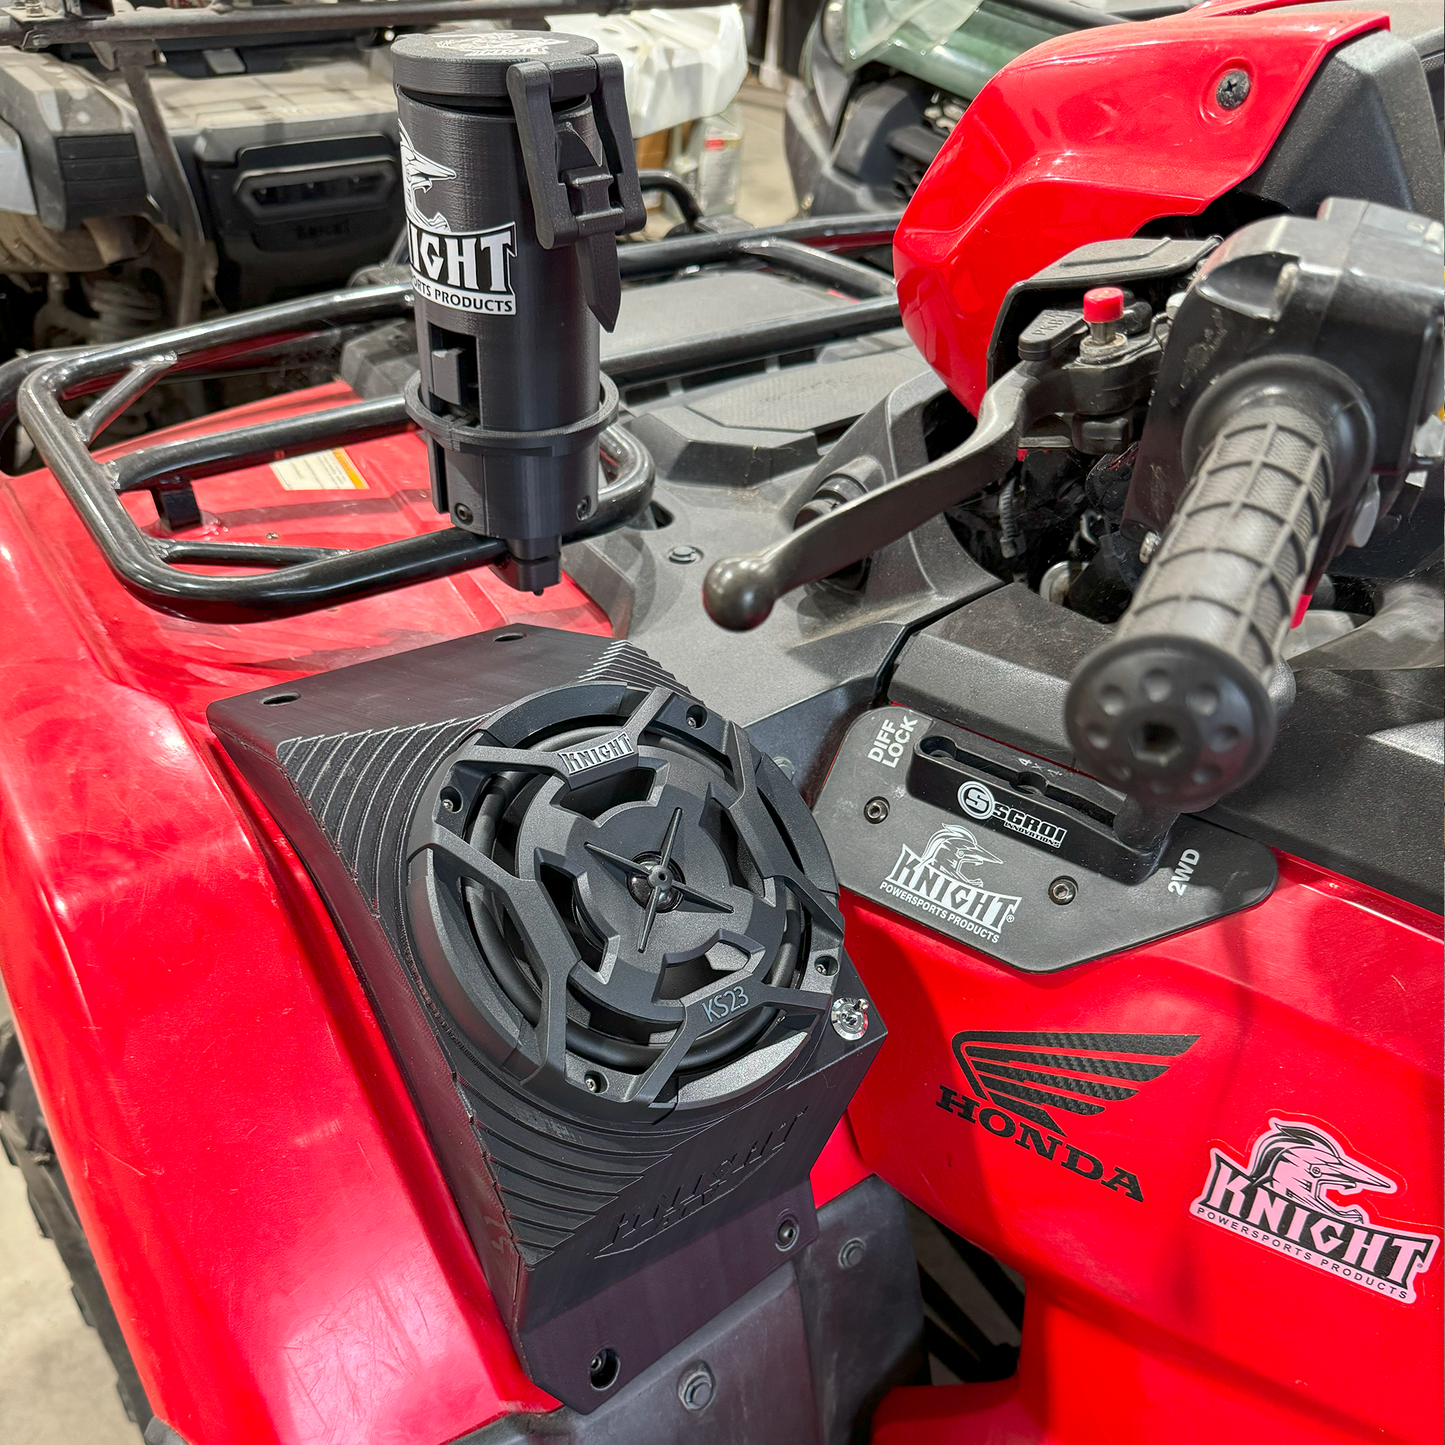
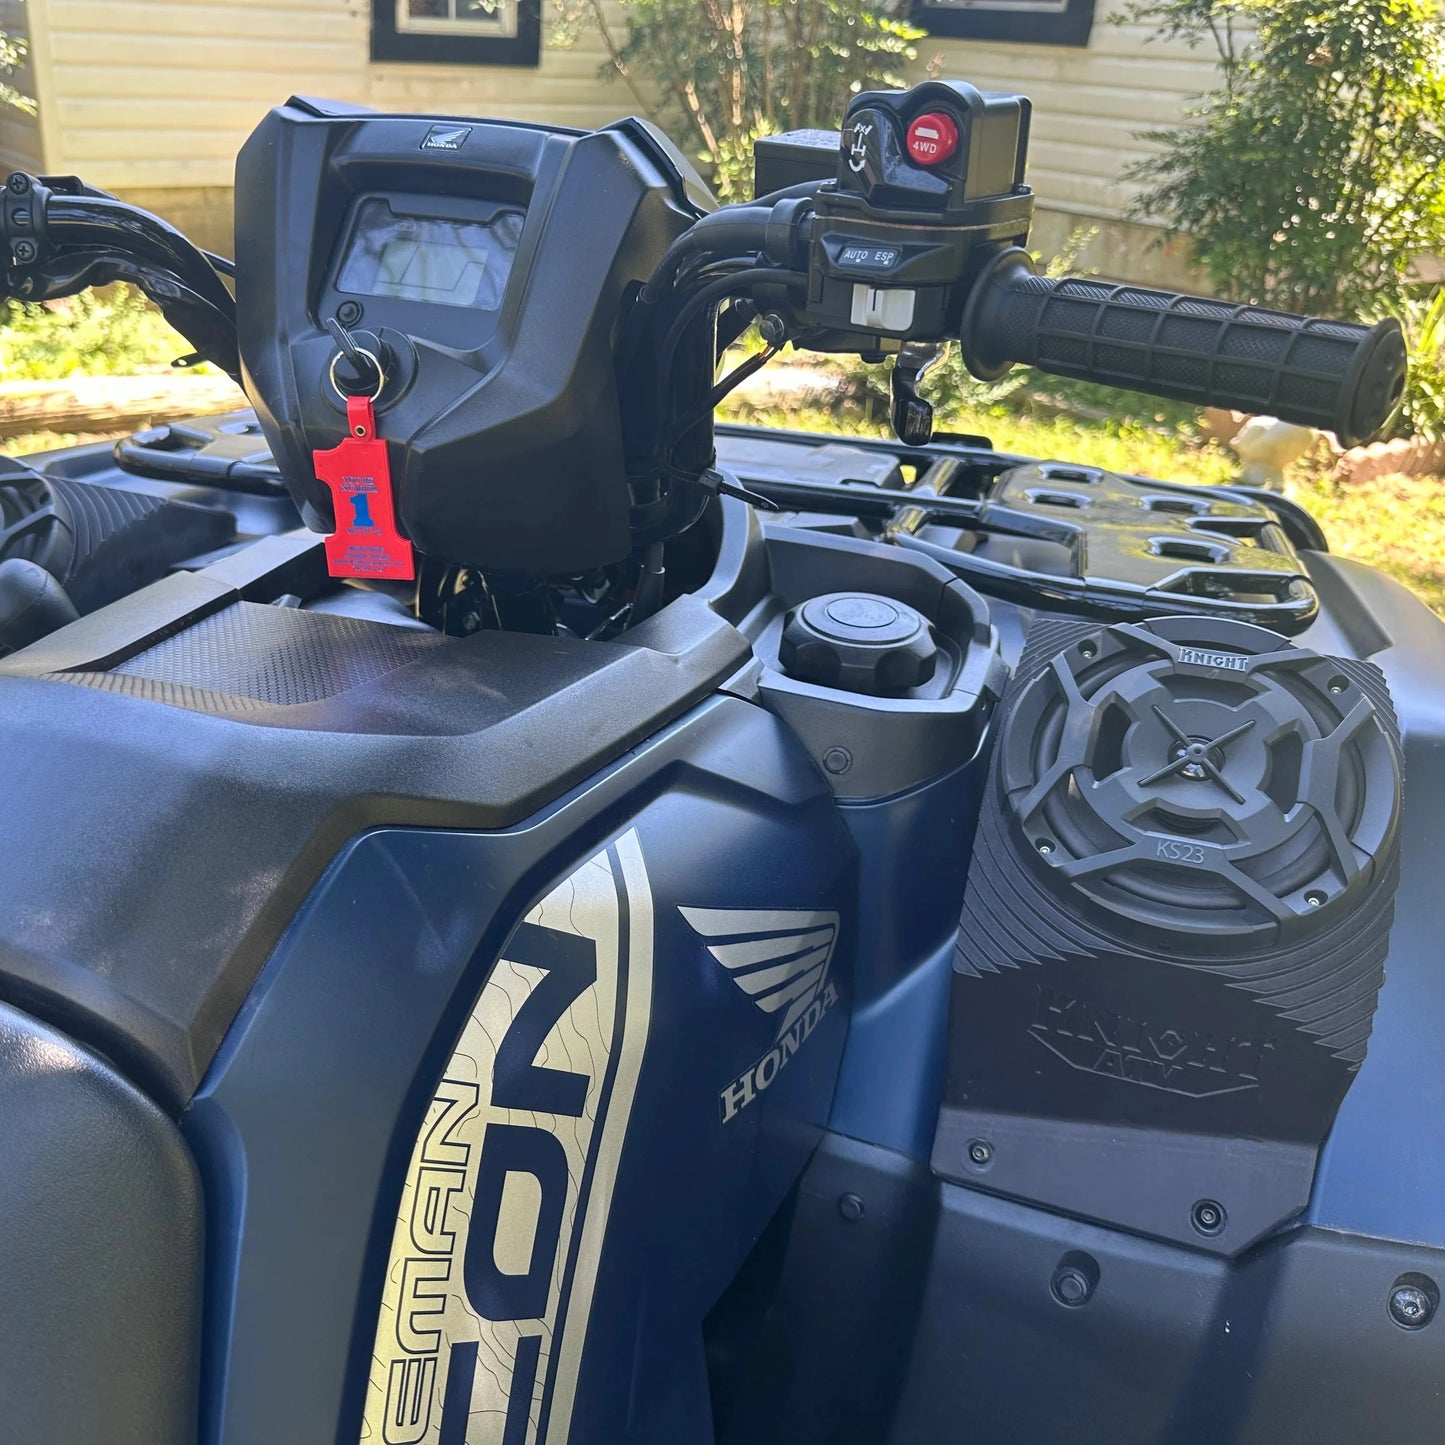
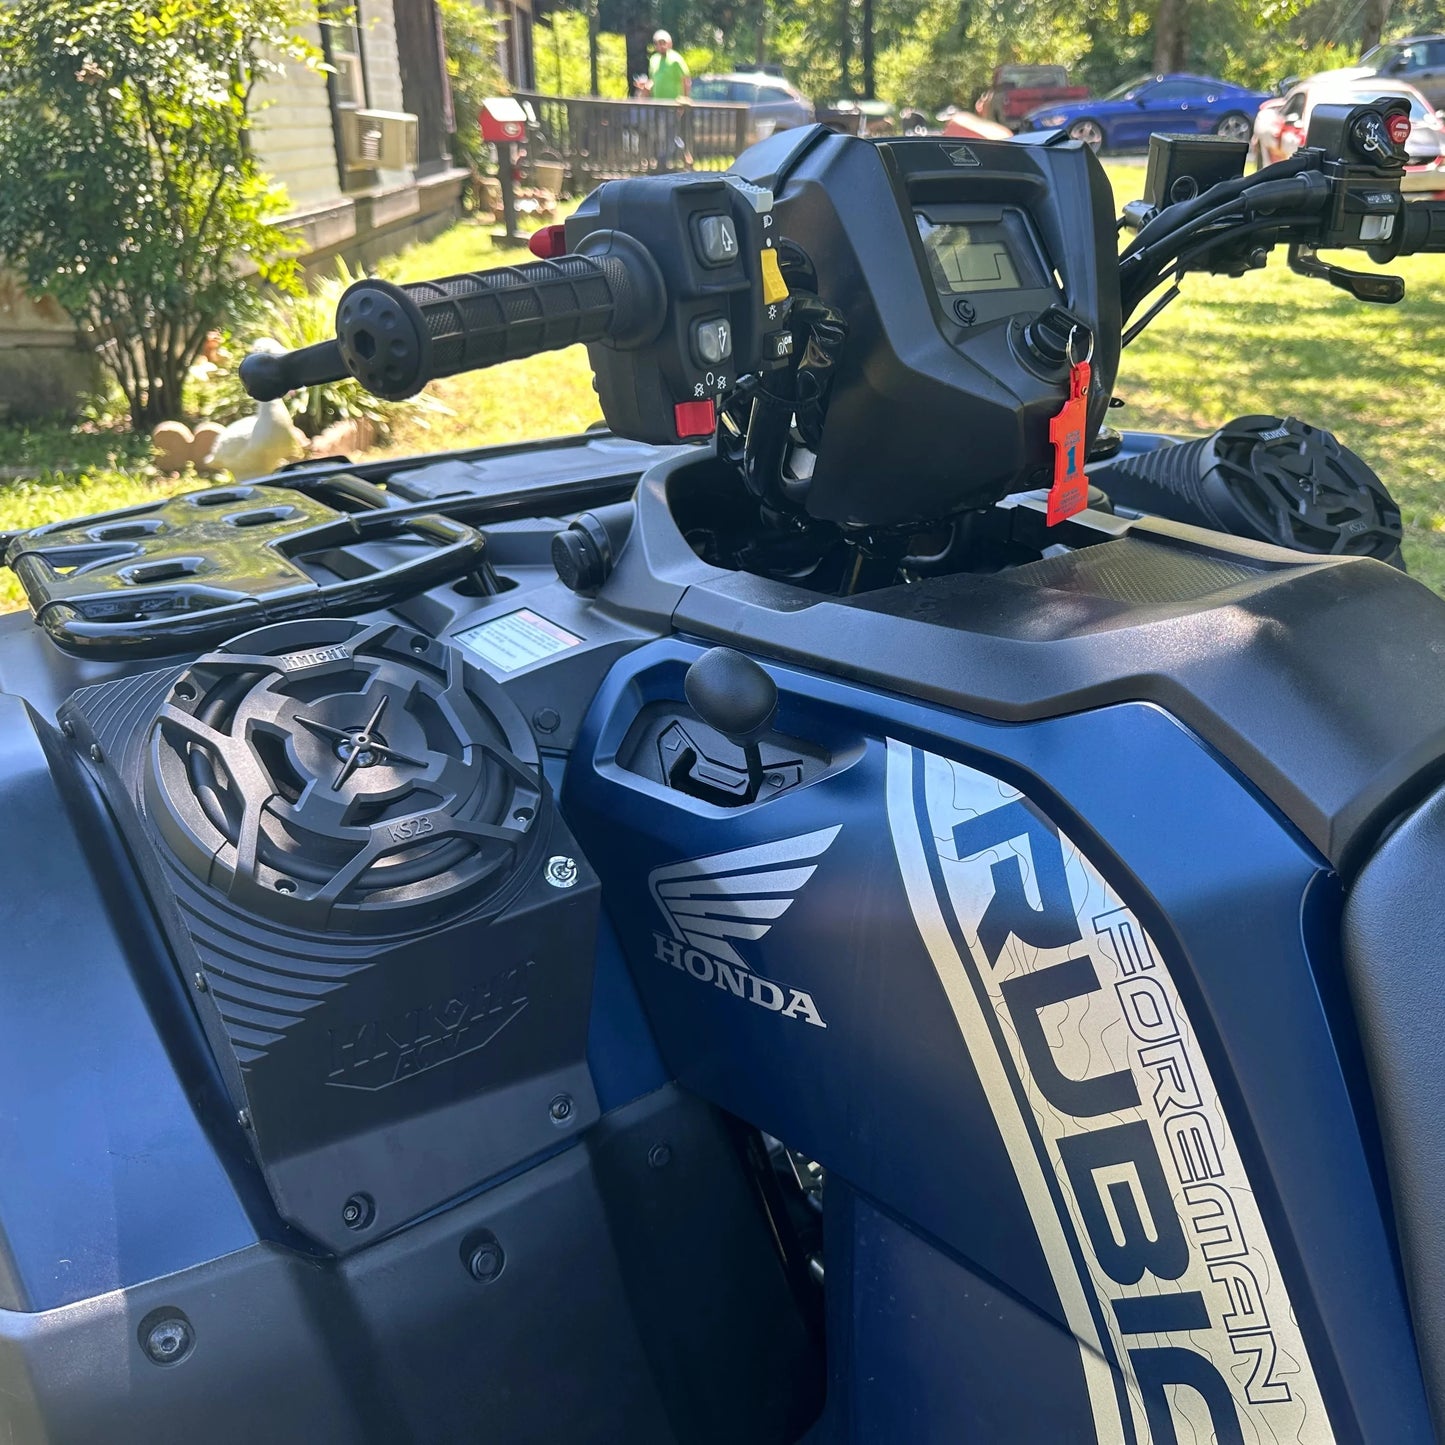
Pulled the trigger on the teo speaker kit for my new Honda foreman. I was hesitant at first. Wondering, do these have good sound quality, are they durable, do they cosmetically look good, will it take forever to ship, etc etc. Those fears were all put to rest when I received my kit in just a couple business days, faster than ebay. The boxing was immaculate and the directions very clear. After an easy straight forward installation, I was jamming out with the LED lights flashing in my garage. These little speakers put out impressive sound, especially when your sitting in the driver seat. I was so pleased with knight atv, I shopped more on their products and realized I definitely need the phone holder and drink lock holder lol. So I ordered that today. This company seems to really strive to put out quality products rather than cheep junk that won't last. Looking forward to ordering the 4x4 direct actuator kit in the future.
Thank you so much for the detailed and thoughtful review Dave! We’re thrilled to hear that you’re enjoying your new speaker kit and that everything exceeded your expectations. It’s great to know the sound quality, durability, and installation process were all to your liking! We really appreciate the kind words. We’re excited to hear what you think of our phone holder. We look forward to helping you with the 4x4 direct actuator kit in the future. If you need anything else, don’t hesitate to reach out! Enjoy the music and the ride!
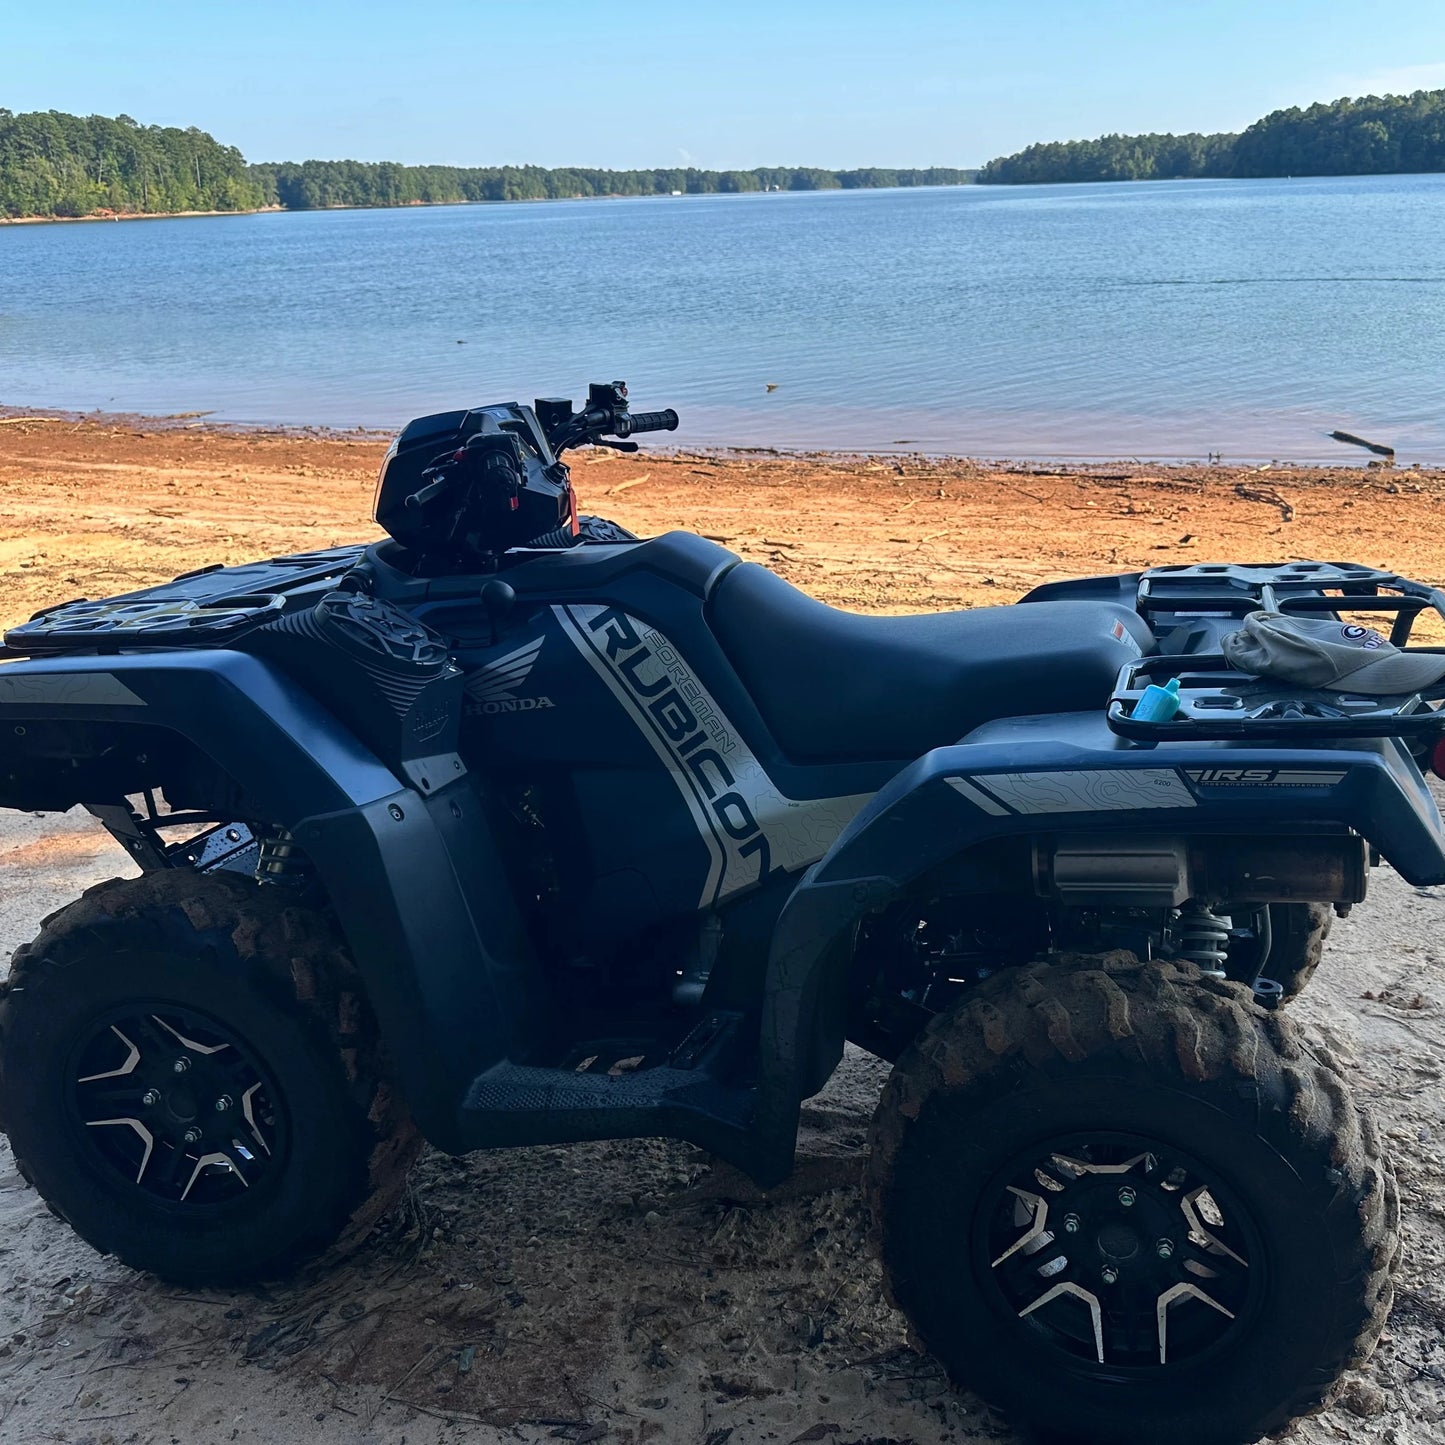
Speakers were easy to install and look great on the 4 wheeler. Sound is great and we love the lights!!
Thanks for the awesome feedback! We're so glad to hear the speakers were easy to install and that you're enjoying the sound and lights. It sounds like they're a perfect fit for your 4-wheeler! Enjoy the ride, and feel free to reach out if you need anything else.
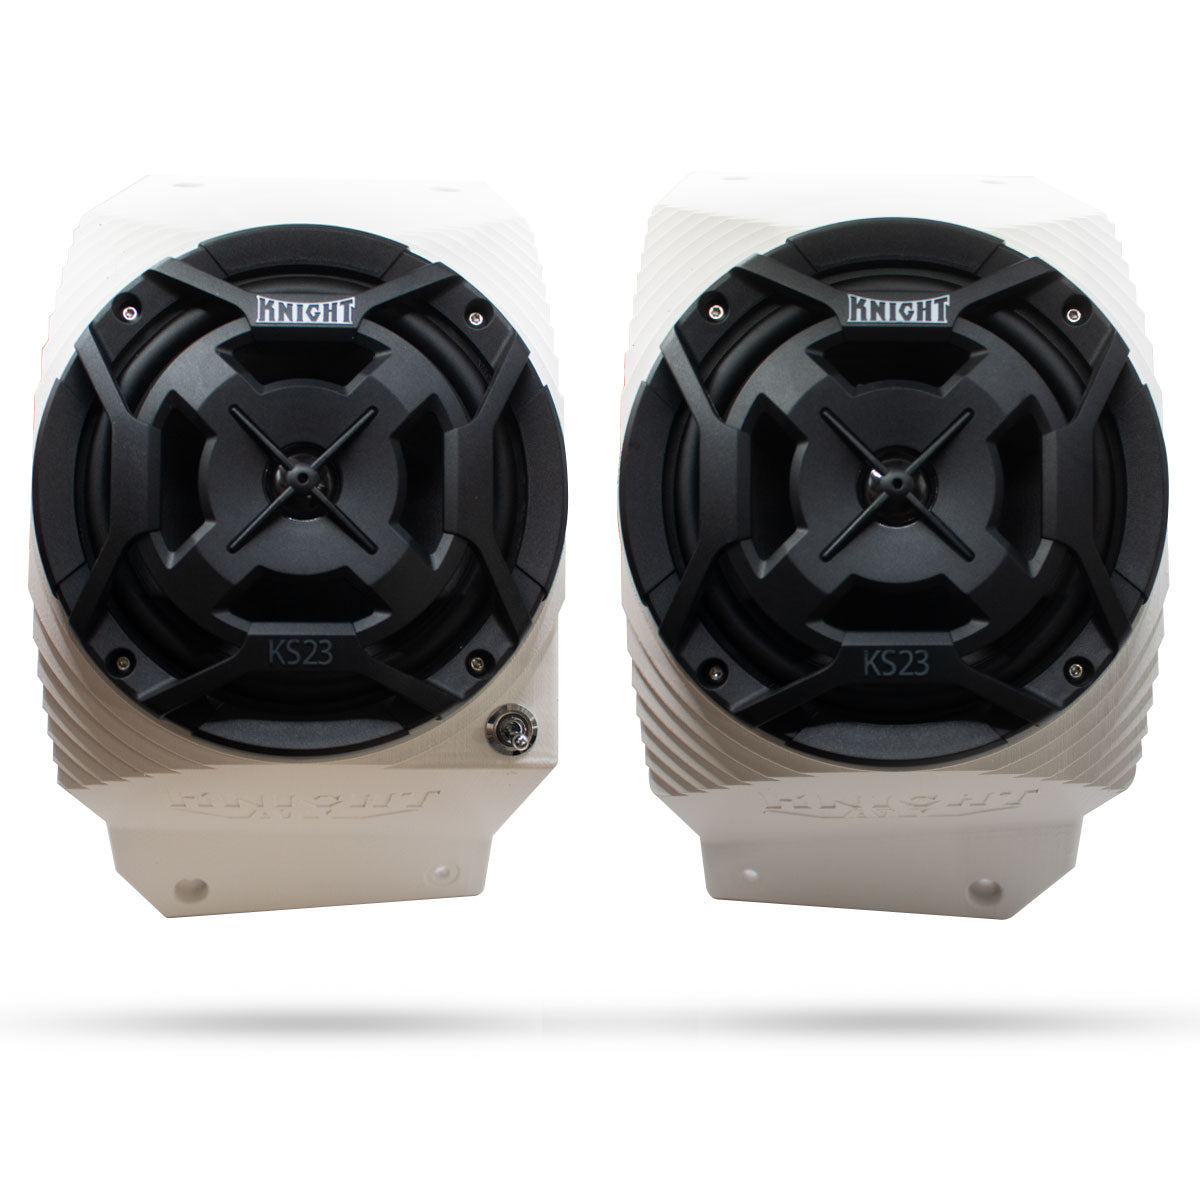
Loud loud loud. Speakers worked great and were 100% water proof and sound clear as day. Love them. Customer service is out of this world
Hi Logan,
Glad to hear these speakers are working for you. Please reach out if you need anything else. Looking forward to hearing from you soon!
Pretty loud but cheaply made had to retire because some wires fell apart do to just being tied and electrical taped together and housing is just 3d printed.
Hi Justin,
What did you have to rewire? Please let us know and we will fix it for you. All of the wire is done by me and my team at our shop in New Jersey. We use industrial 3Ds printer to make these parts, they are very durable, you will not have any issues with these.
Thank you,
Joe
Do not order from this company on 5/3. I ordered $500 worth of product from Knight ATV and still have not received my order nor received any help finding my package or receiving a refund as of 5/20. Don’t waste your time or money.
Wes, your order says it was delivered to your garage door on 5/13. We called USPS but they said you need to file a claim or call the police if it was stolen. This is a difficult situation for us because people have lied in the past and said they did not receive a package when they actually did. We want to help and we want you to experience this great product. We will offer you a nice discount if you decide to order again.