Can-Am Outlander Double Fender Speaker Housings Only
Can-Am Outlander Double Fender Speaker Housings Only
SKU:SH-1800
- Description
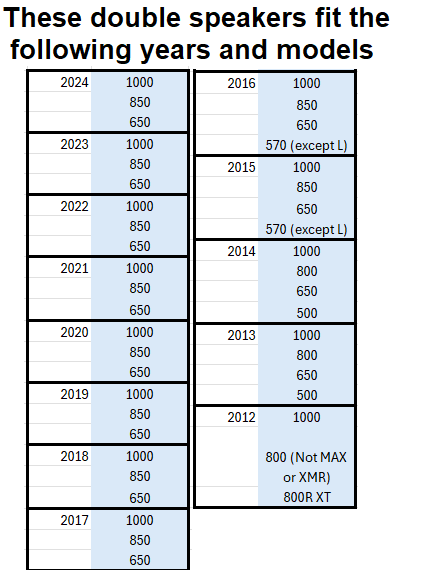
- Fits
- Includes
- Installation
- Bundle and Save
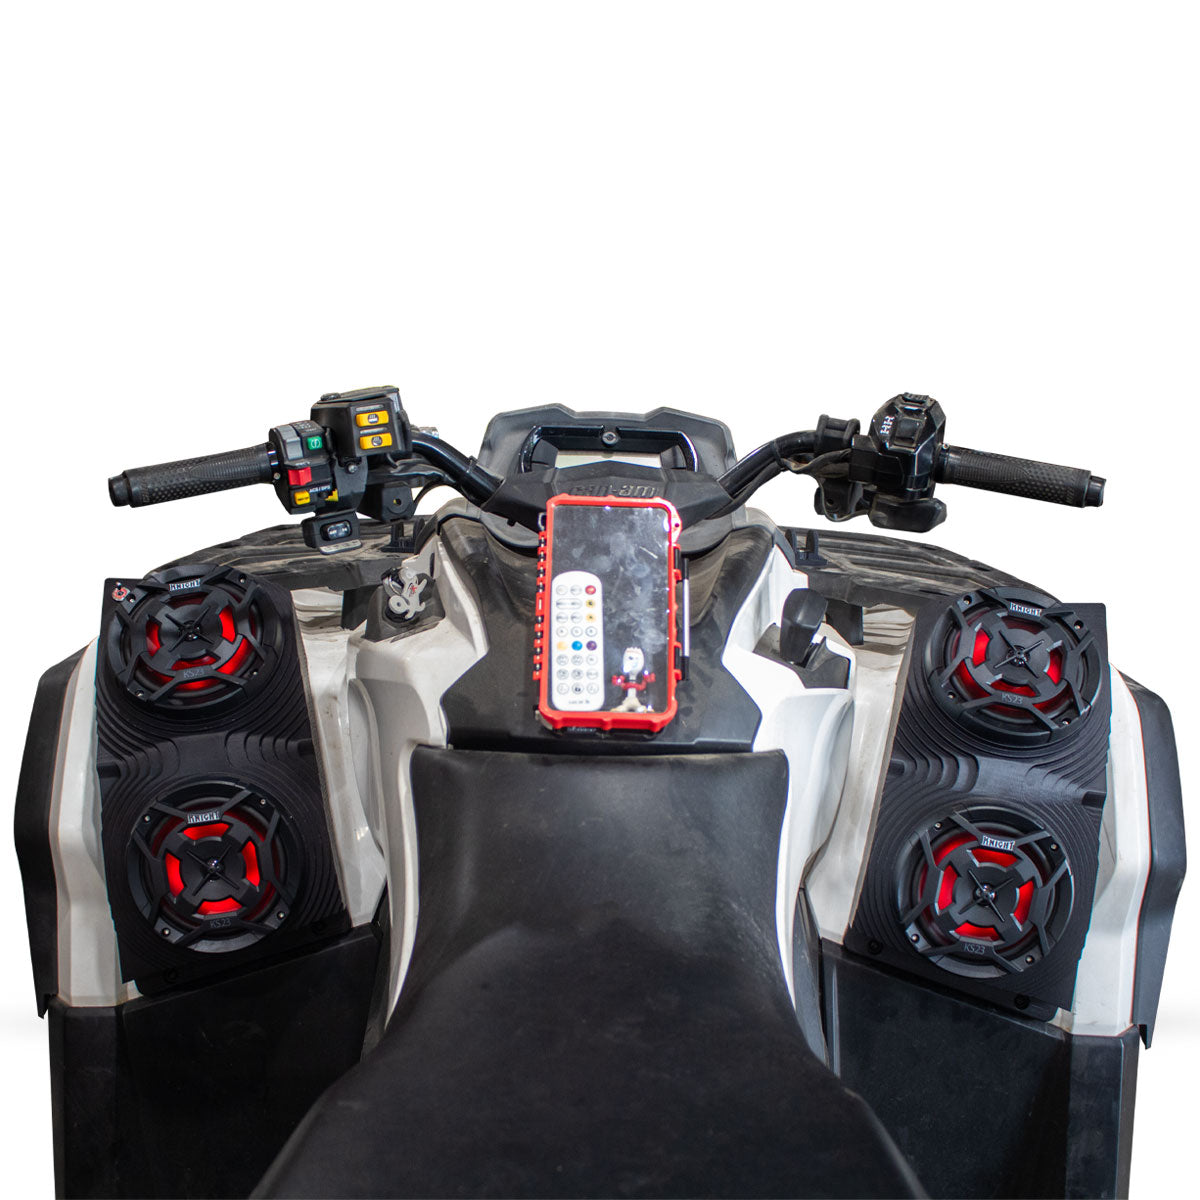
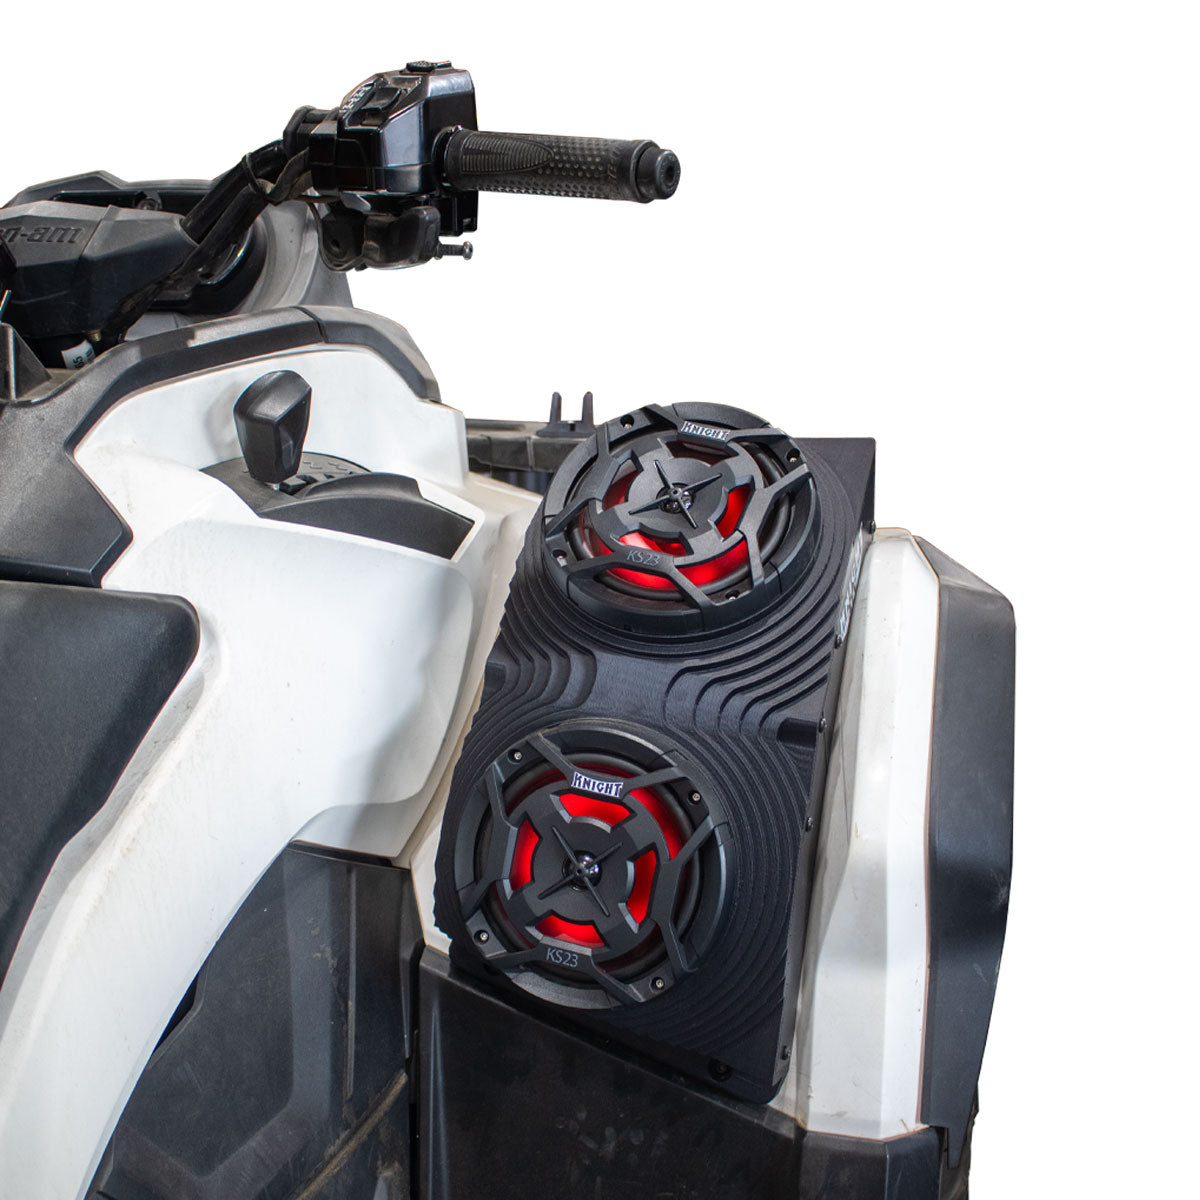
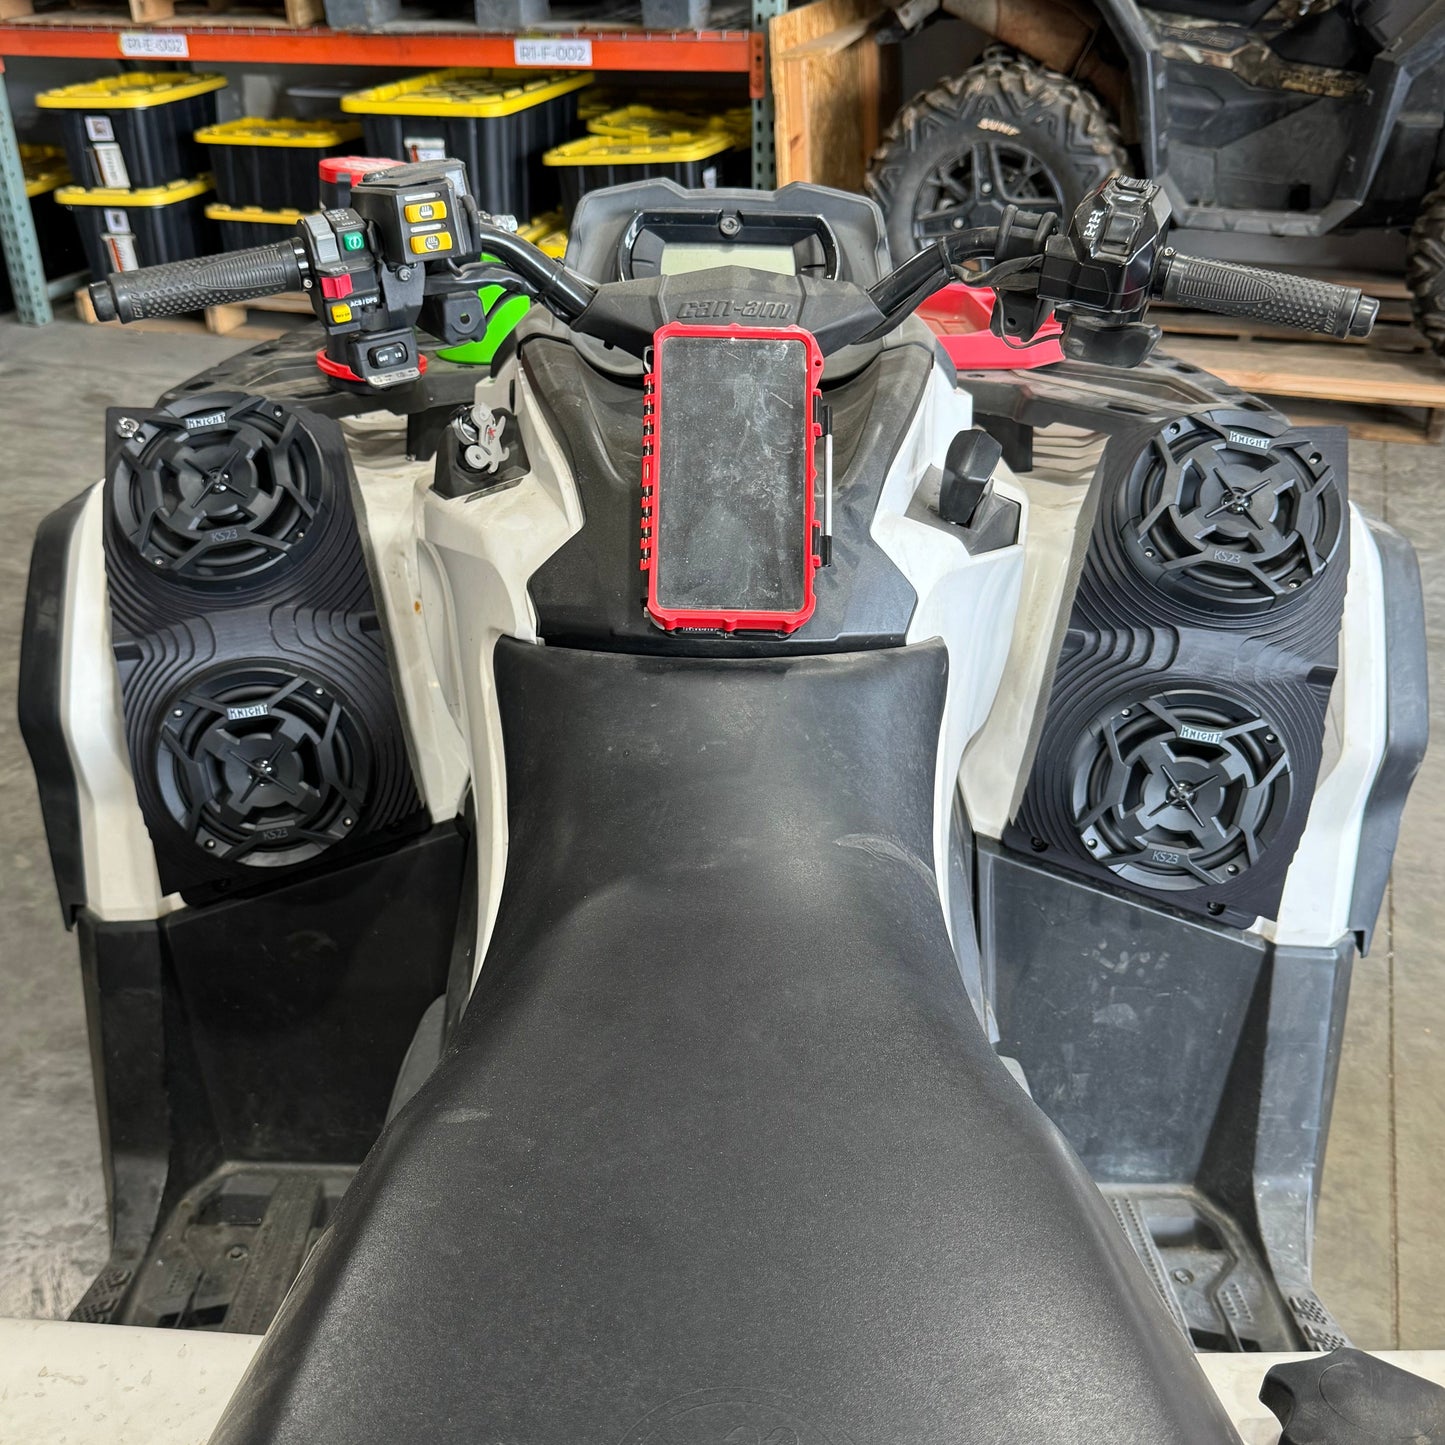
4 SPEAKER KIT, DUAL ON EACH SIDE, SUPER LOUD!! LED's in all 4 speakers.
Complete Bluetooth, plug and play, Waterproof kit
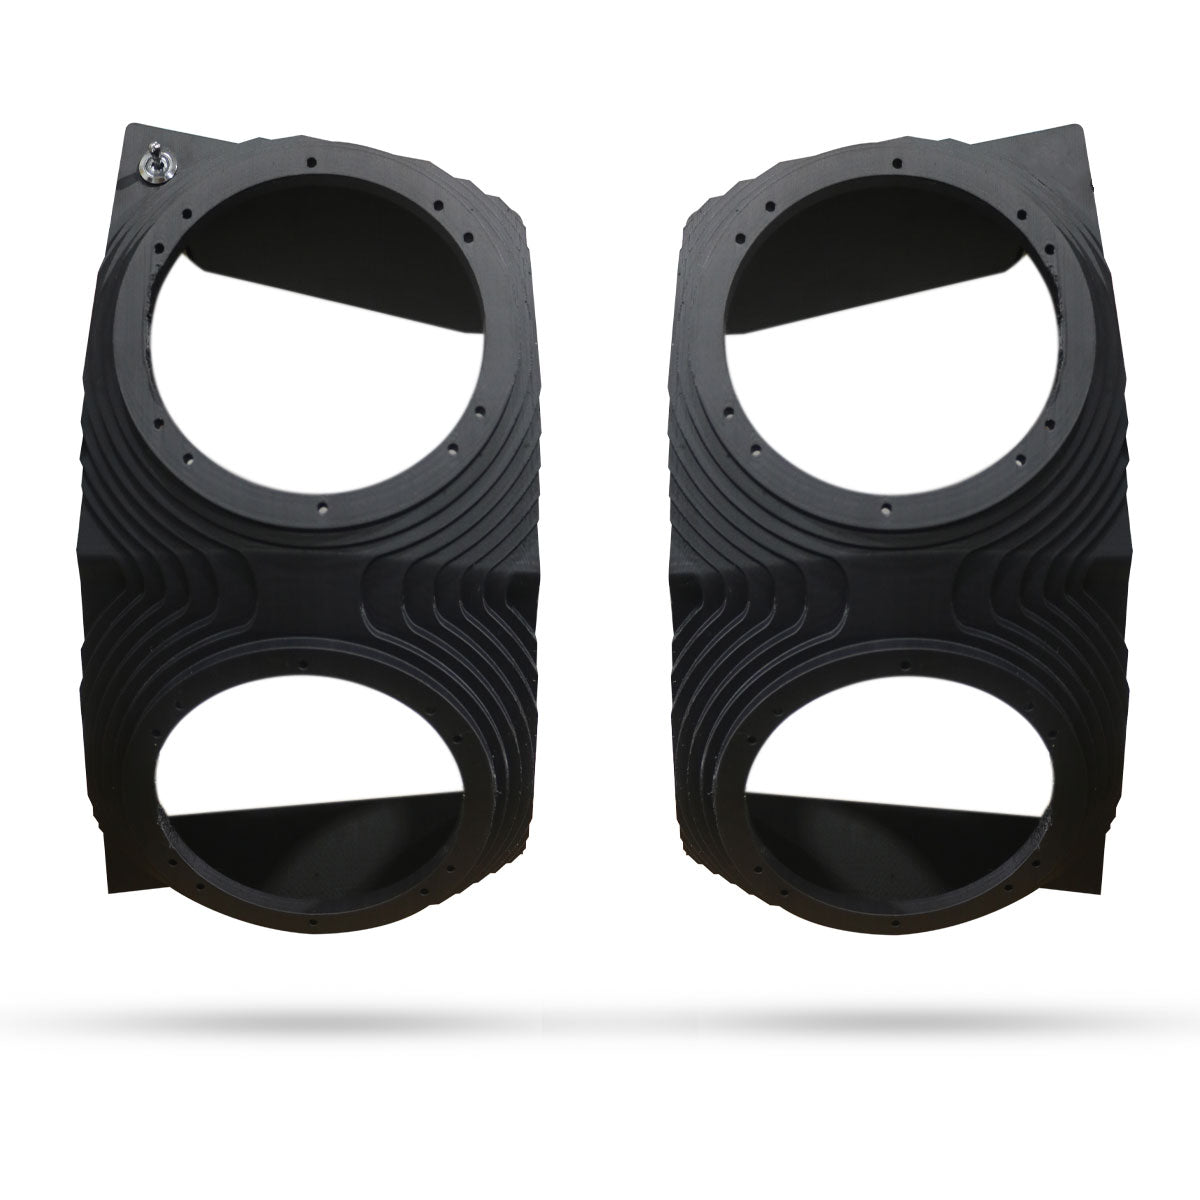
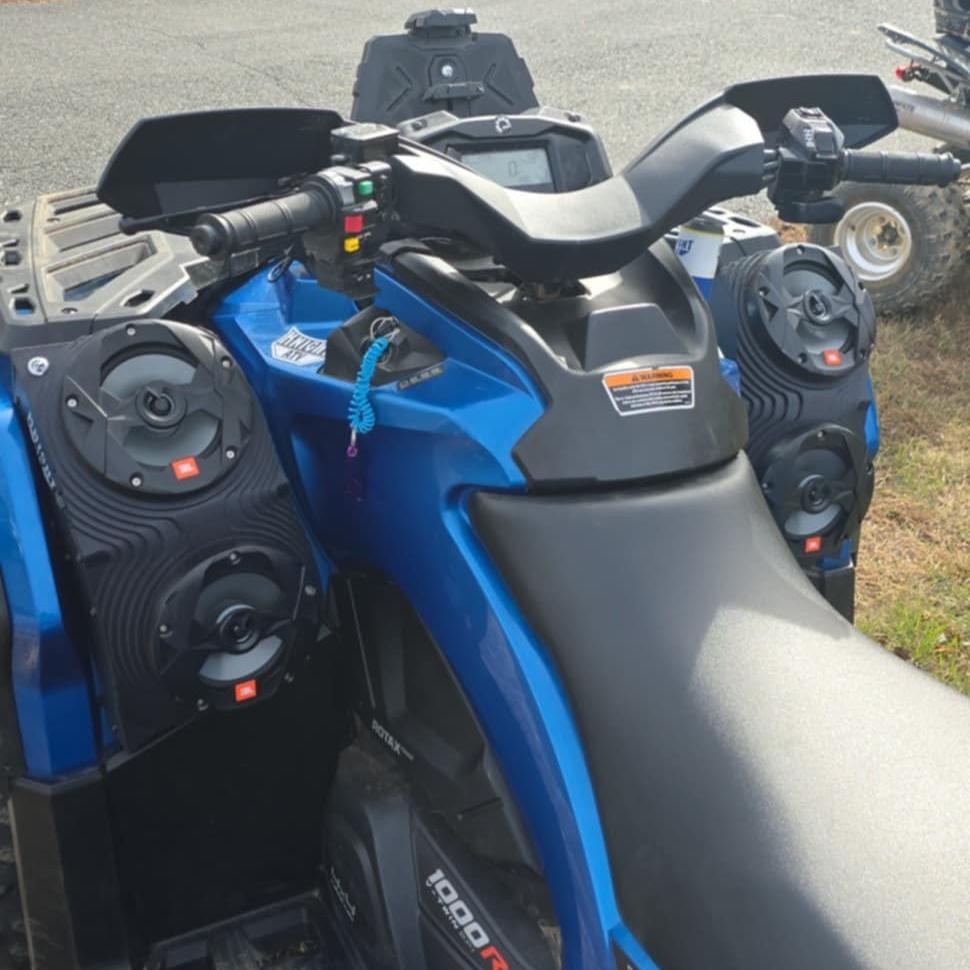
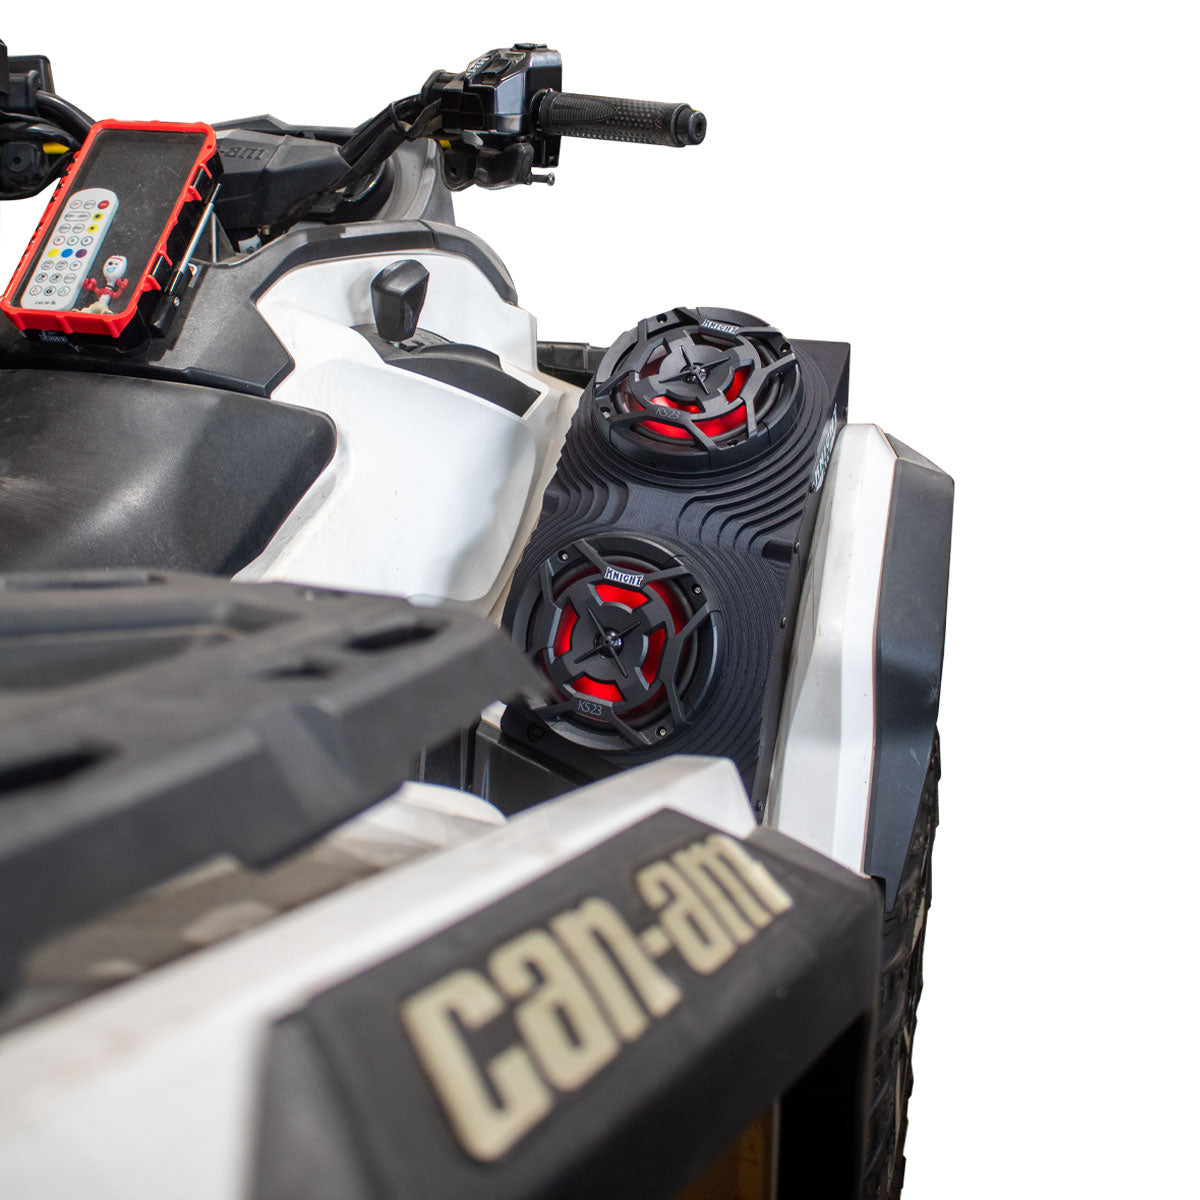
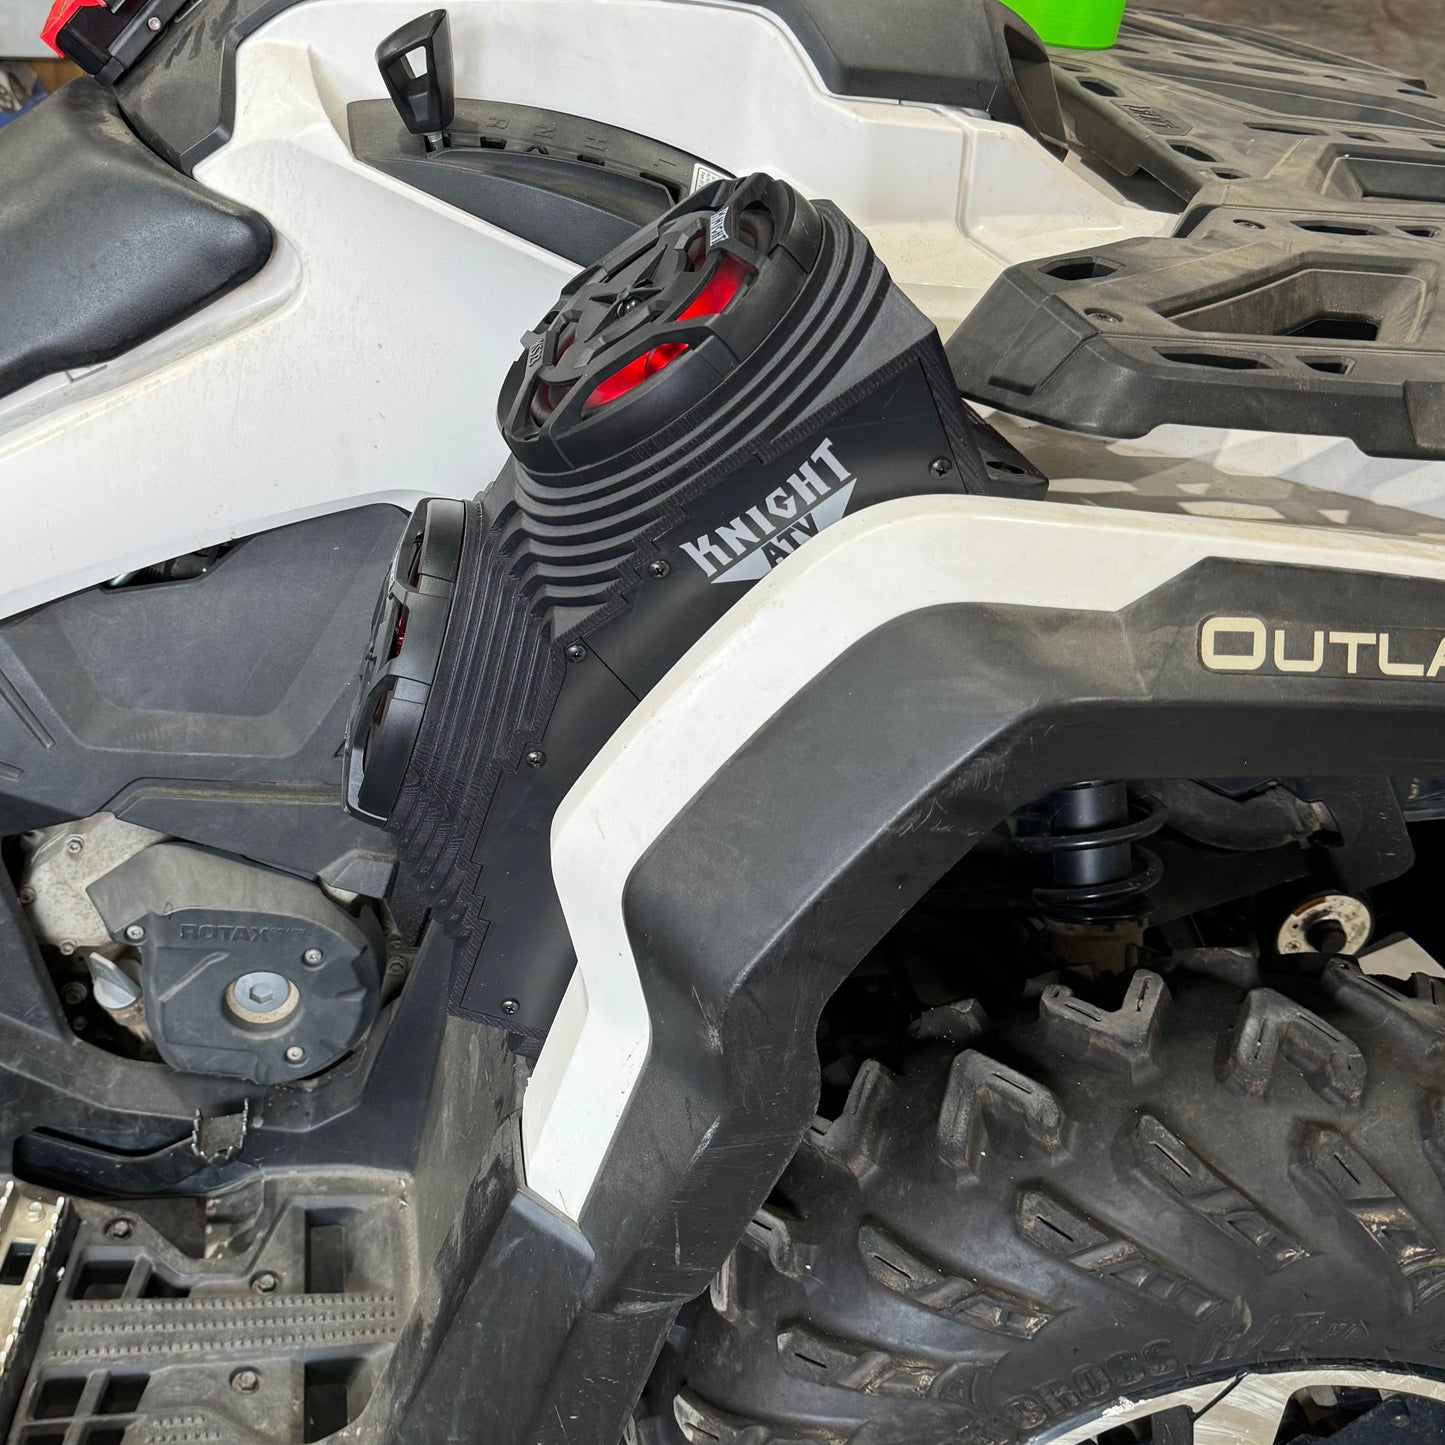
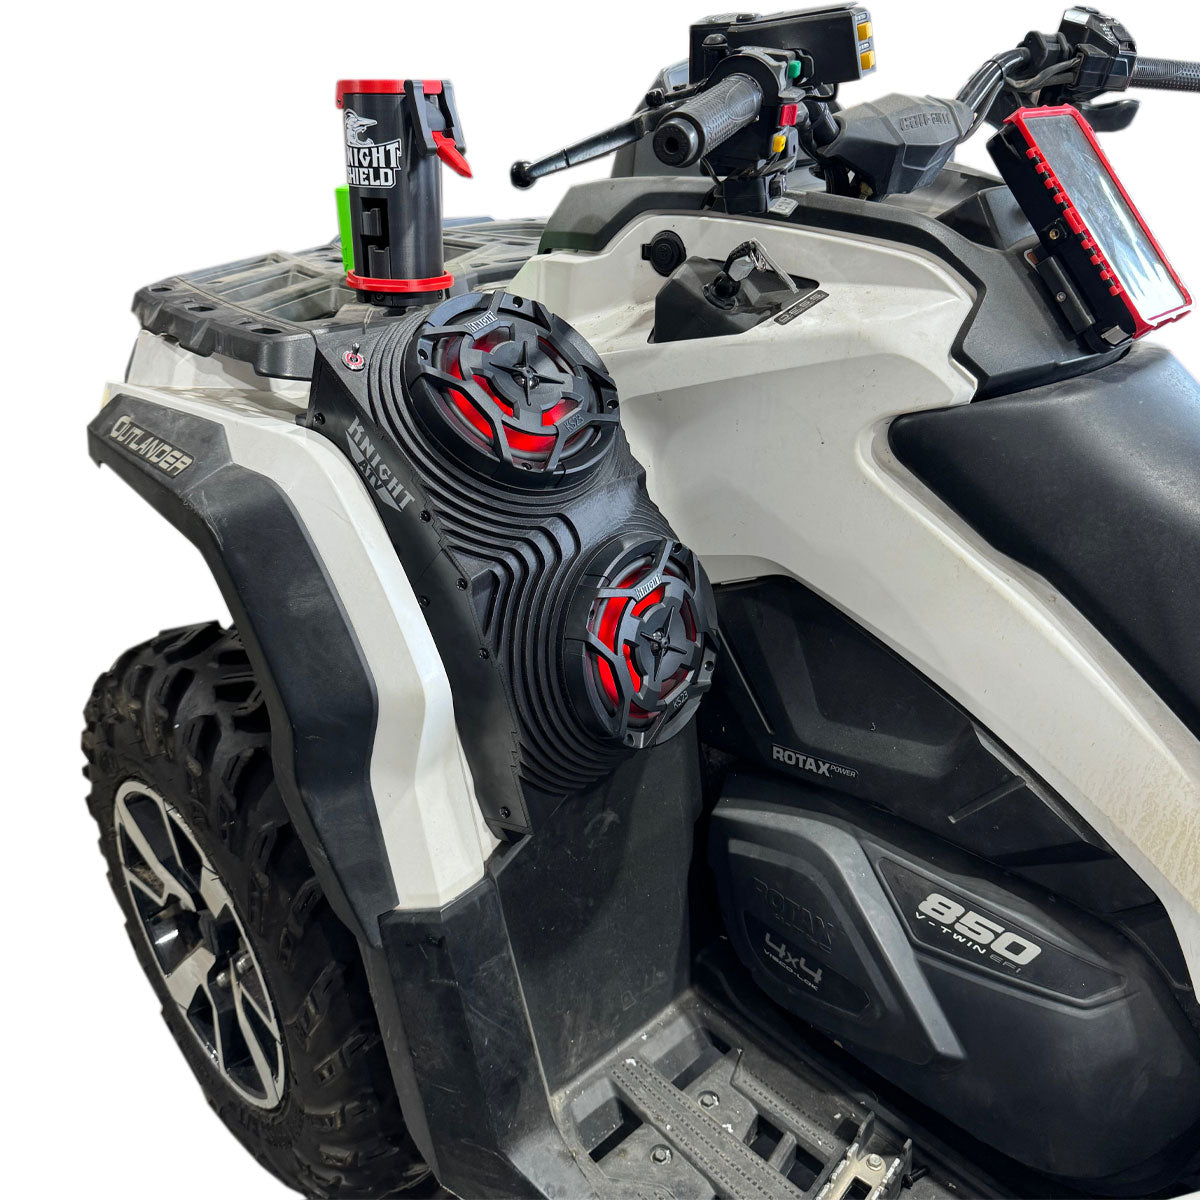
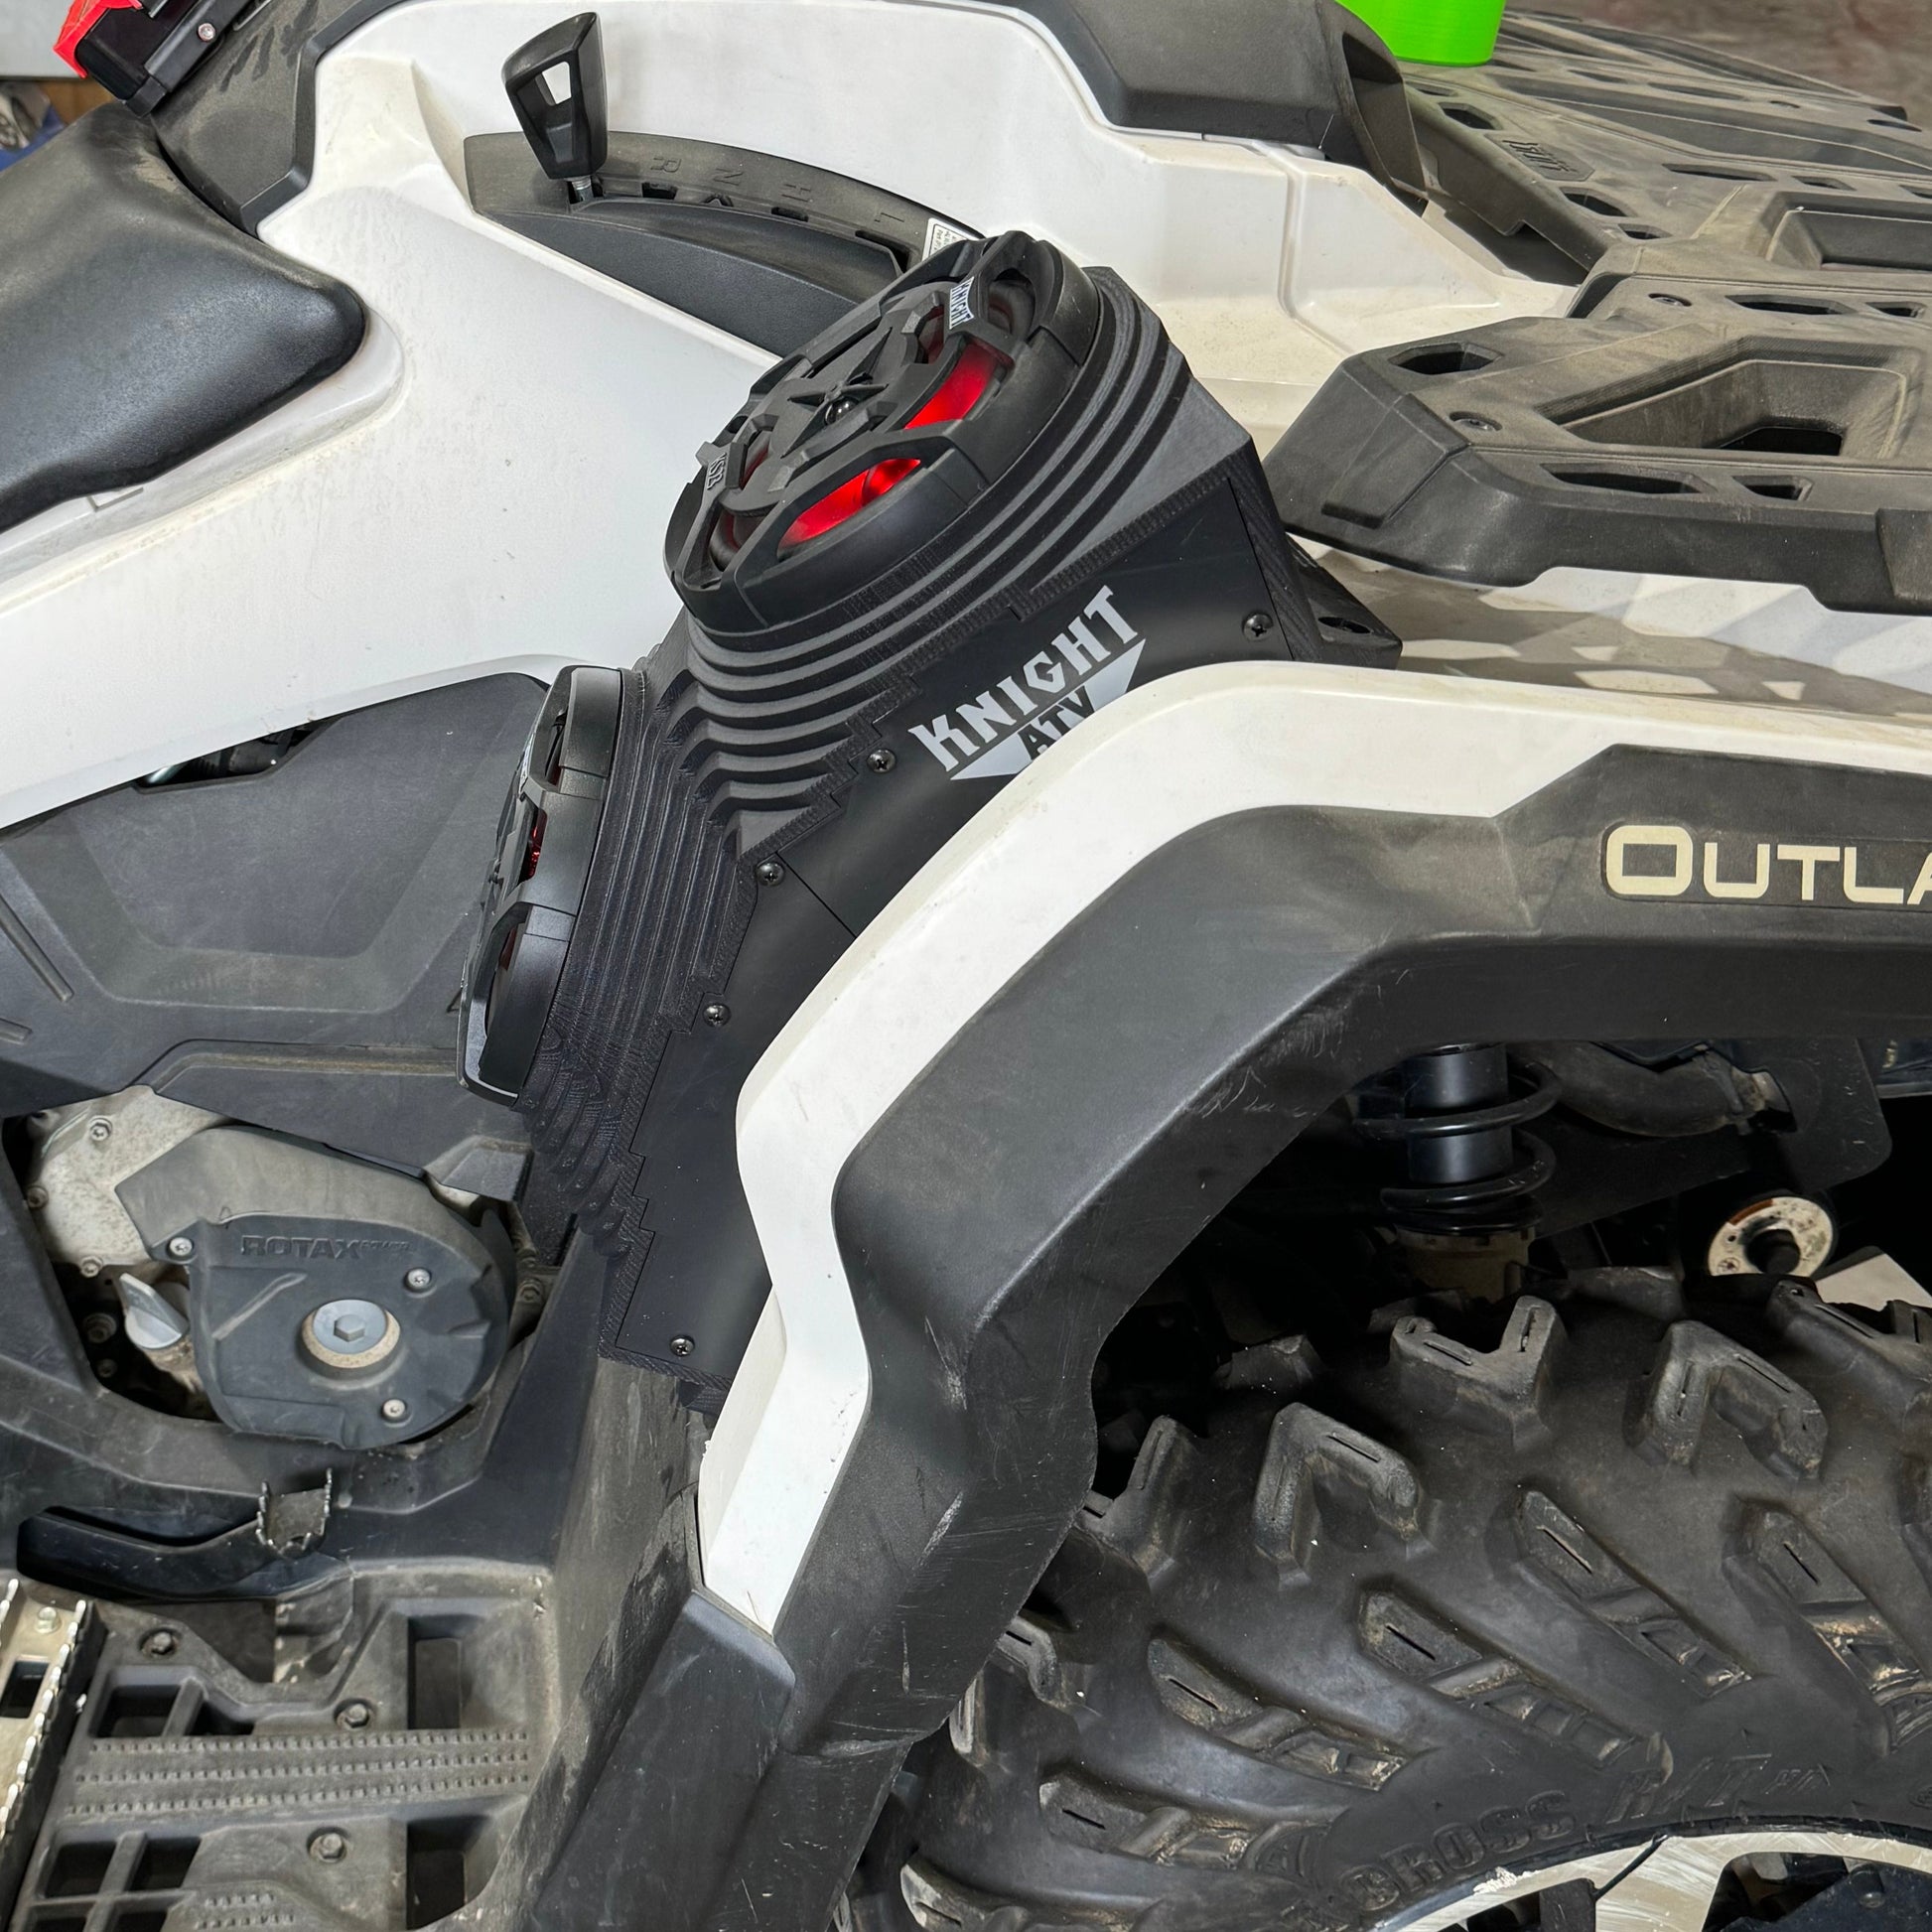
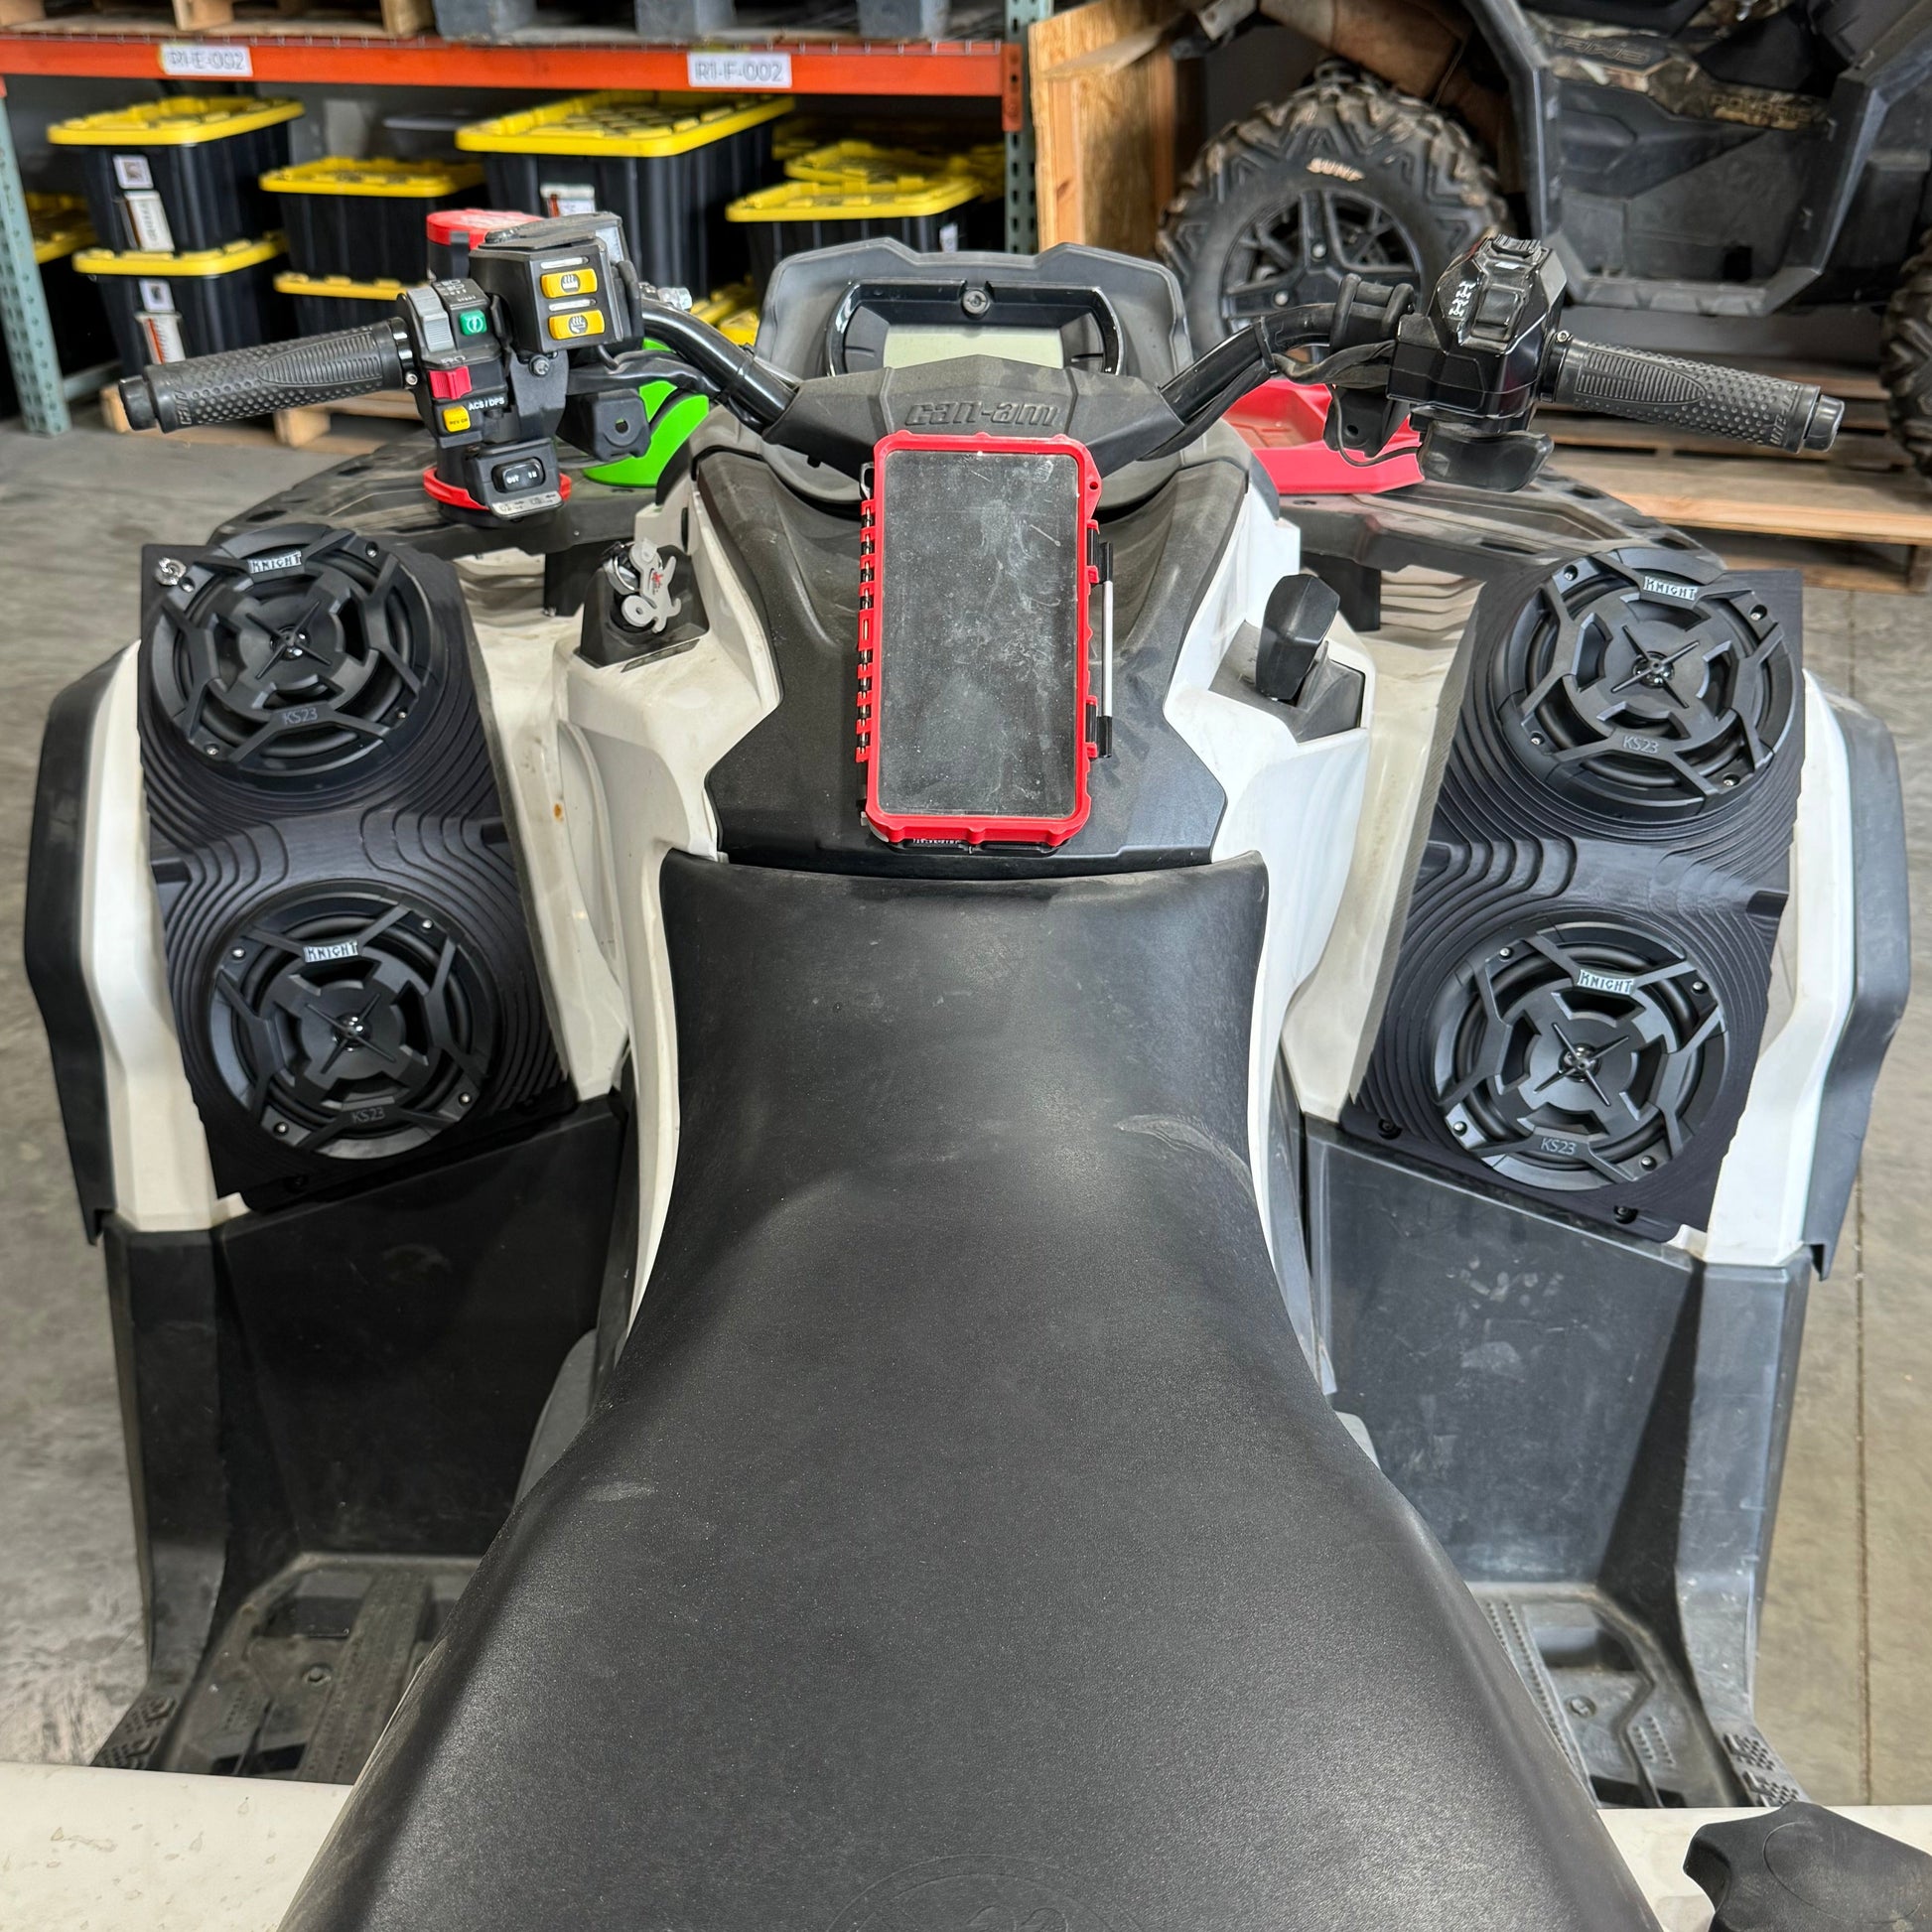
Introducing our new innovative speaker housings for your Can Am Outlander ATV! Custom laser scanned and CAD designed speaker housings fit perfectly snug on your OEM fender plastics. The unloaded speaker housings and build your own speaker kit.
Unique Features:
- Custom fit. Laser scanned and 3D modeled specifically for ATV fender plastics.

Please email Sales@KnightATV.com or Call us at 732-737-7761, if you are looking for a different model and we will move it up on our production list.
-
Unloaded Housings Kit:
- (2) Double Speaker Housings with waterproof on/off switch
- Mounting Hardware
- Place the left speaker housing (the one with the amplifier mounted inside it) on the left fender so that it sits flush against the surface, slide it around until you feel it set into its perfect location.
- Drill 4 holes into the fender for the mounting bolts, don't bolt it on yet.
- After that, notice where the wires will be, about center but a little lower than the speaker. Drill a hole near the bottom center of the speaker housing for the wiring harnesses.
- Push all the wires through and then mount the speaker housing to the fender. DO NOT over tighten the bolts to secure the housing to the fender plastic.
- Run the wires for the other speaker, and LED (if purchased), to the right speaker. Somewhere along the front of the quad, keep the wires away from moving and hot parts. Wait to secure these with cable ties until after the speakers are fully installed and tested.
- Line up the right speaker housing on the right fender. Drill the same holes as the left side.
- Push the wires from the left side through that center hole and connect the wires to the speaker and the LED (if purchased), make sure to line up the little arrows on the LED wires.
- Bolt the speaker to the fender, DO NOT over tighten the bolts.
- Run the Black and Red wire from the left speaker to your battery, connect the red wire to positive and black wire to negative.
- Turn it on and connect Bluetooth and test LED's
- Fasten all the wiring away from moving and hot parts using cable ties. Use duct tape or silicone to fill in around the holes that the wires come out of.
- Done! Go ride and enjoy!
Full installation video:
Save $25!
We now offer a Safebox Phone Holder and Speaker Kit bundle! These two products are ideal companions for your outdoor adventures. Keep your cell phone safe and accessible with the SafeBox and stream music wirelessly from your smartphone or other Bluetooth-enabled devices for added convenience.
All you have to do is add the safebox and a speaker kit into your cart, it will automatically come off at check out!
Couldn't load pickup availability
4 SPEAKER KIT, DUAL ON EACH SIDE, SUPER LOUD!! LED's in all 4 speakers.
Complete Bluetooth, plug and play, Waterproof kit
Introducing our new innovative speaker housings for your Can Am Outlander ATV! Custom laser scanned and CAD designed speaker housings fit perfectly snug on your OEM fender plastics. The unloaded speaker housings and build your own speaker kit.
Unique Features:
- Custom fit. Laser scanned and 3D modeled specifically for ATV fender plastics.
Fits

Please email Sales@KnightATV.com or Call us at 732-737-7761, if you are looking for a different model and we will move it up on our production list.
Includes
-
Unloaded Housings Kit:
- (2) Double Speaker Housings with waterproof on/off switch
- Mounting Hardware
Installation
- Place the left speaker housing (the one with the amplifier mounted inside it) on the left fender so that it sits flush against the surface, slide it around until you feel it set into its perfect location.
- Drill 4 holes into the fender for the mounting bolts, don't bolt it on yet.
- After that, notice where the wires will be, about center but a little lower than the speaker. Drill a hole near the bottom center of the speaker housing for the wiring harnesses.
- Push all the wires through and then mount the speaker housing to the fender. DO NOT over tighten the bolts to secure the housing to the fender plastic.
- Run the wires for the other speaker, and LED (if purchased), to the right speaker. Somewhere along the front of the quad, keep the wires away from moving and hot parts. Wait to secure these with cable ties until after the speakers are fully installed and tested.
- Line up the right speaker housing on the right fender. Drill the same holes as the left side.
- Push the wires from the left side through that center hole and connect the wires to the speaker and the LED (if purchased), make sure to line up the little arrows on the LED wires.
- Bolt the speaker to the fender, DO NOT over tighten the bolts.
- Run the Black and Red wire from the left speaker to your battery, connect the red wire to positive and black wire to negative.
- Turn it on and connect Bluetooth and test LED's
- Fasten all the wiring away from moving and hot parts using cable ties. Use duct tape or silicone to fill in around the holes that the wires come out of.
- Done! Go ride and enjoy!
Full installation video:
Bundle and Save
Save $25!
We now offer a Safebox Phone Holder and Speaker Kit bundle! These two products are ideal companions for your outdoor adventures. Keep your cell phone safe and accessible with the SafeBox and stream music wirelessly from your smartphone or other Bluetooth-enabled devices for added convenience.
All you have to do is add the safebox and a speaker kit into your cart, it will automatically come off at check out!
