Arctic Cat Fender Speaker Housings Only
Arctic Cat Fender Speaker Housings Only
SKU:SH-1000
- Description
Features
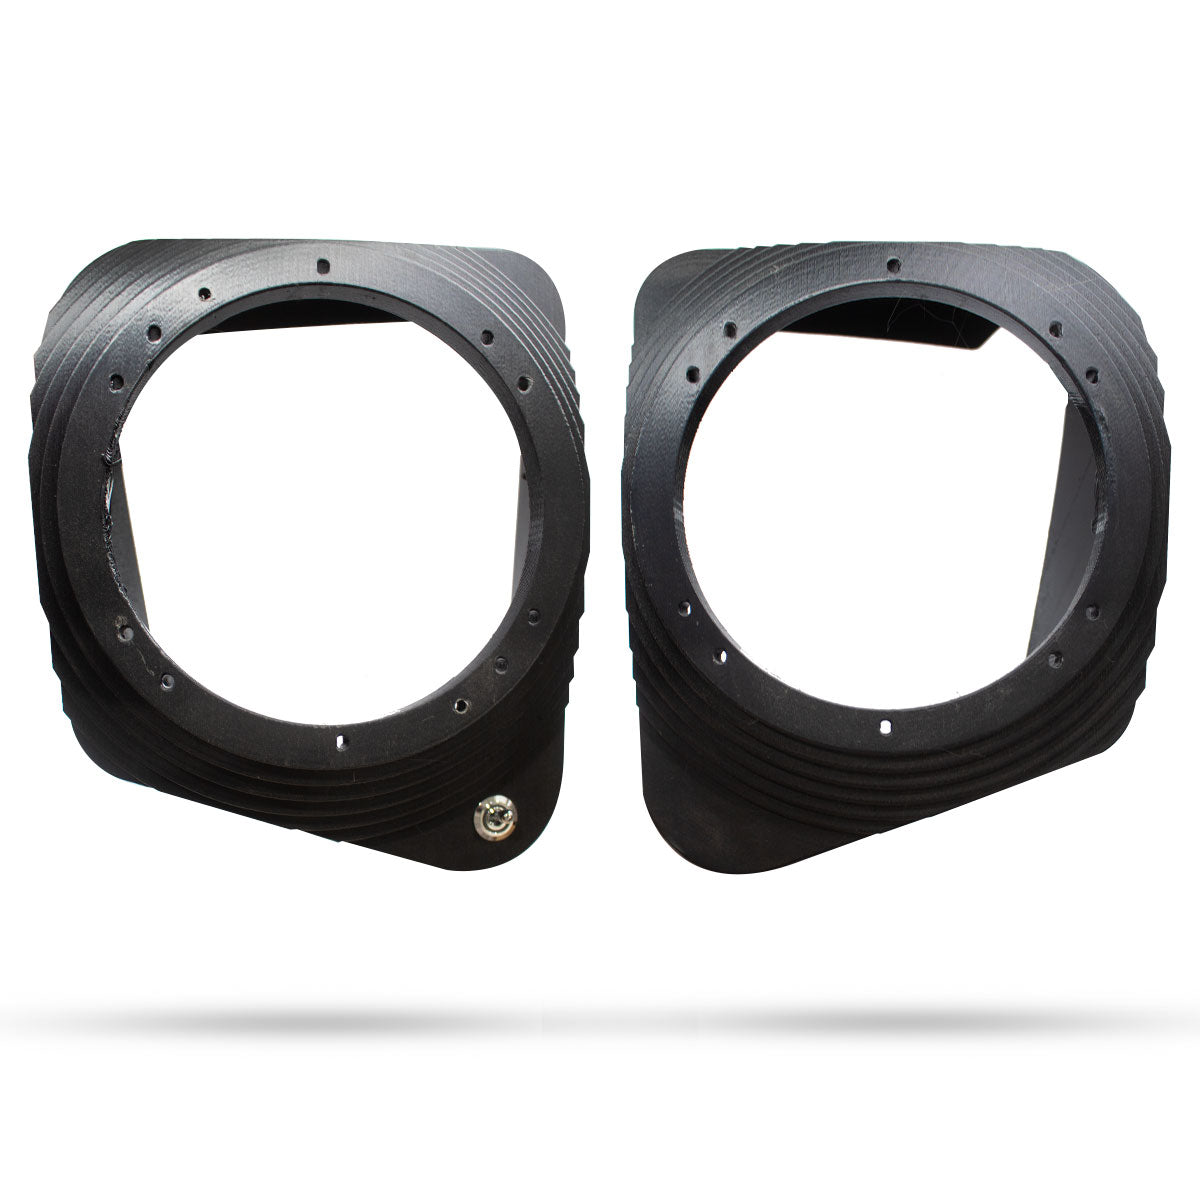
Housings Only, No speakers or amplifier or wiring
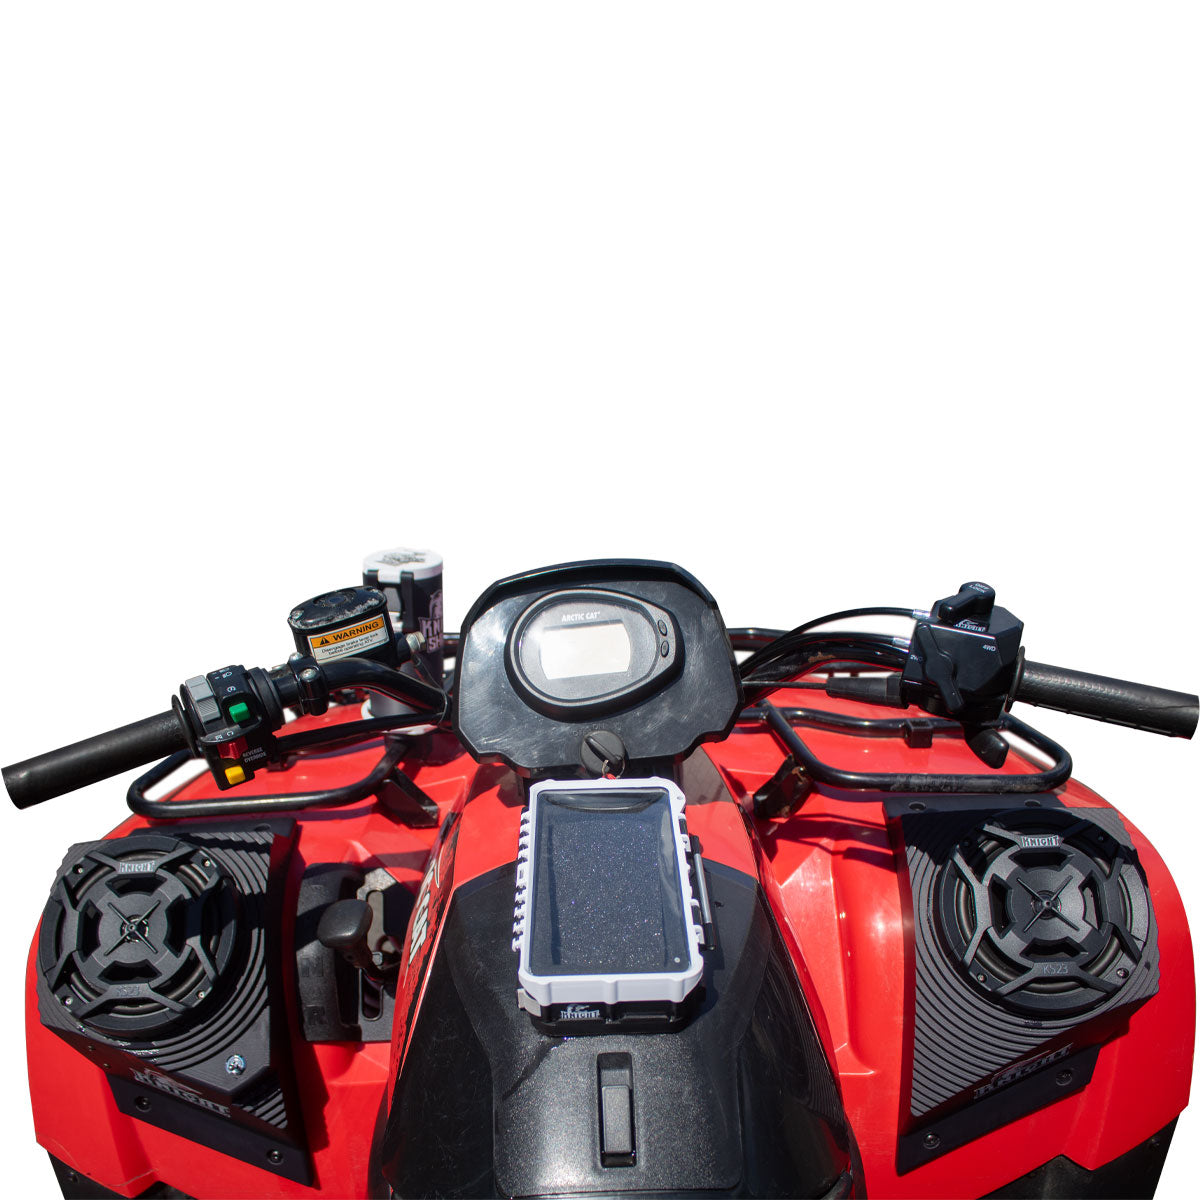
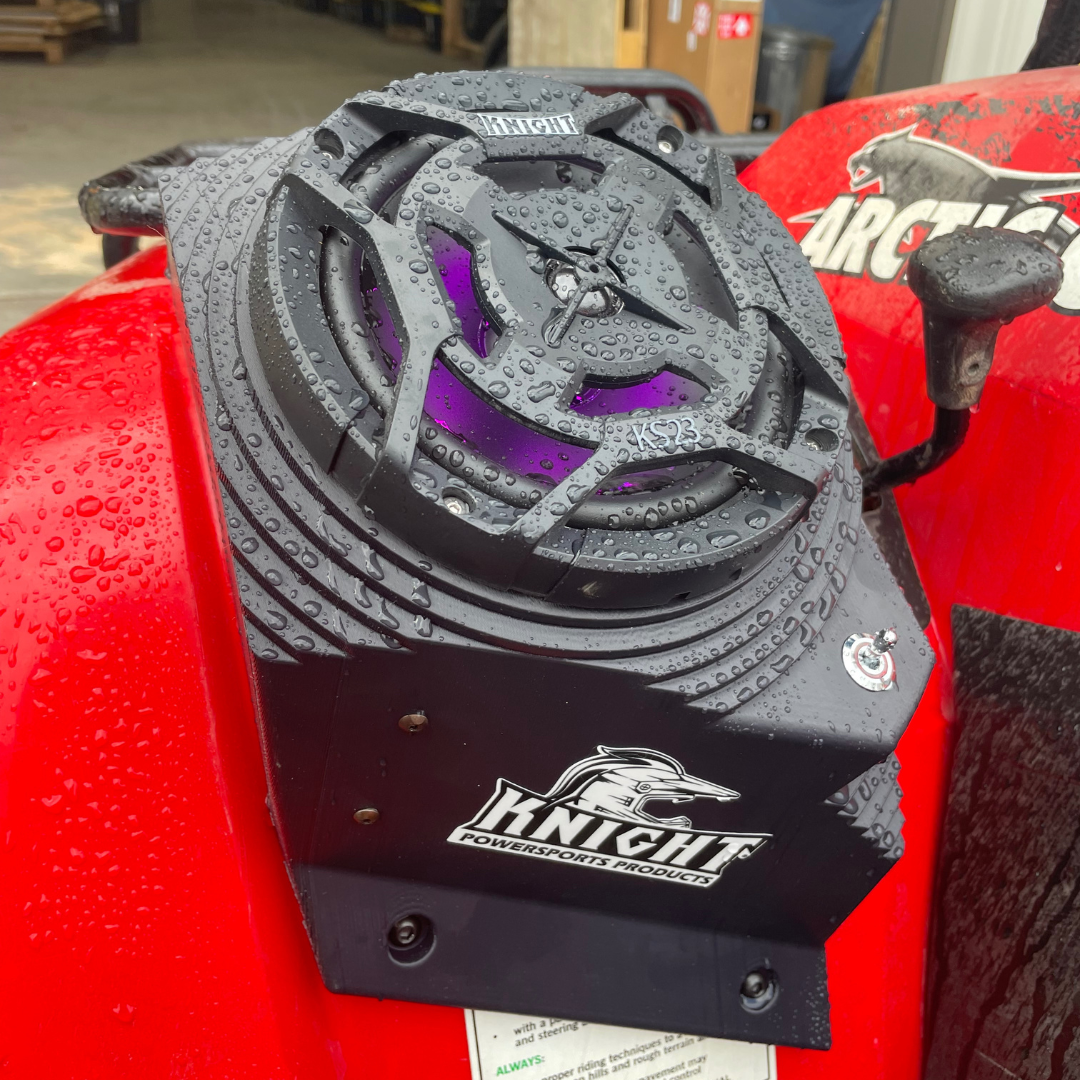
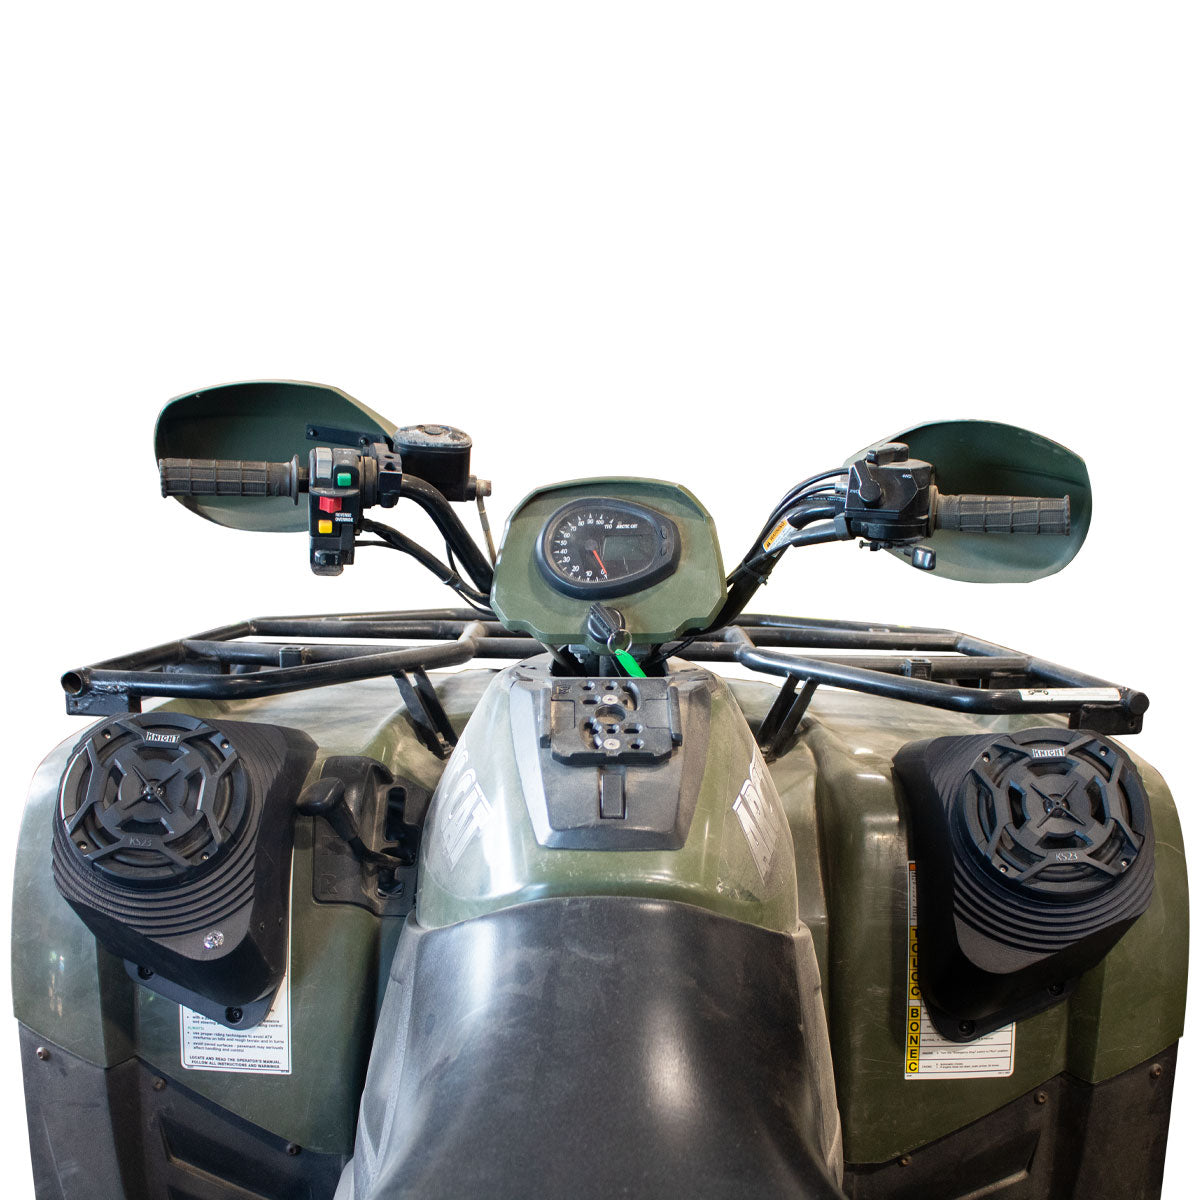
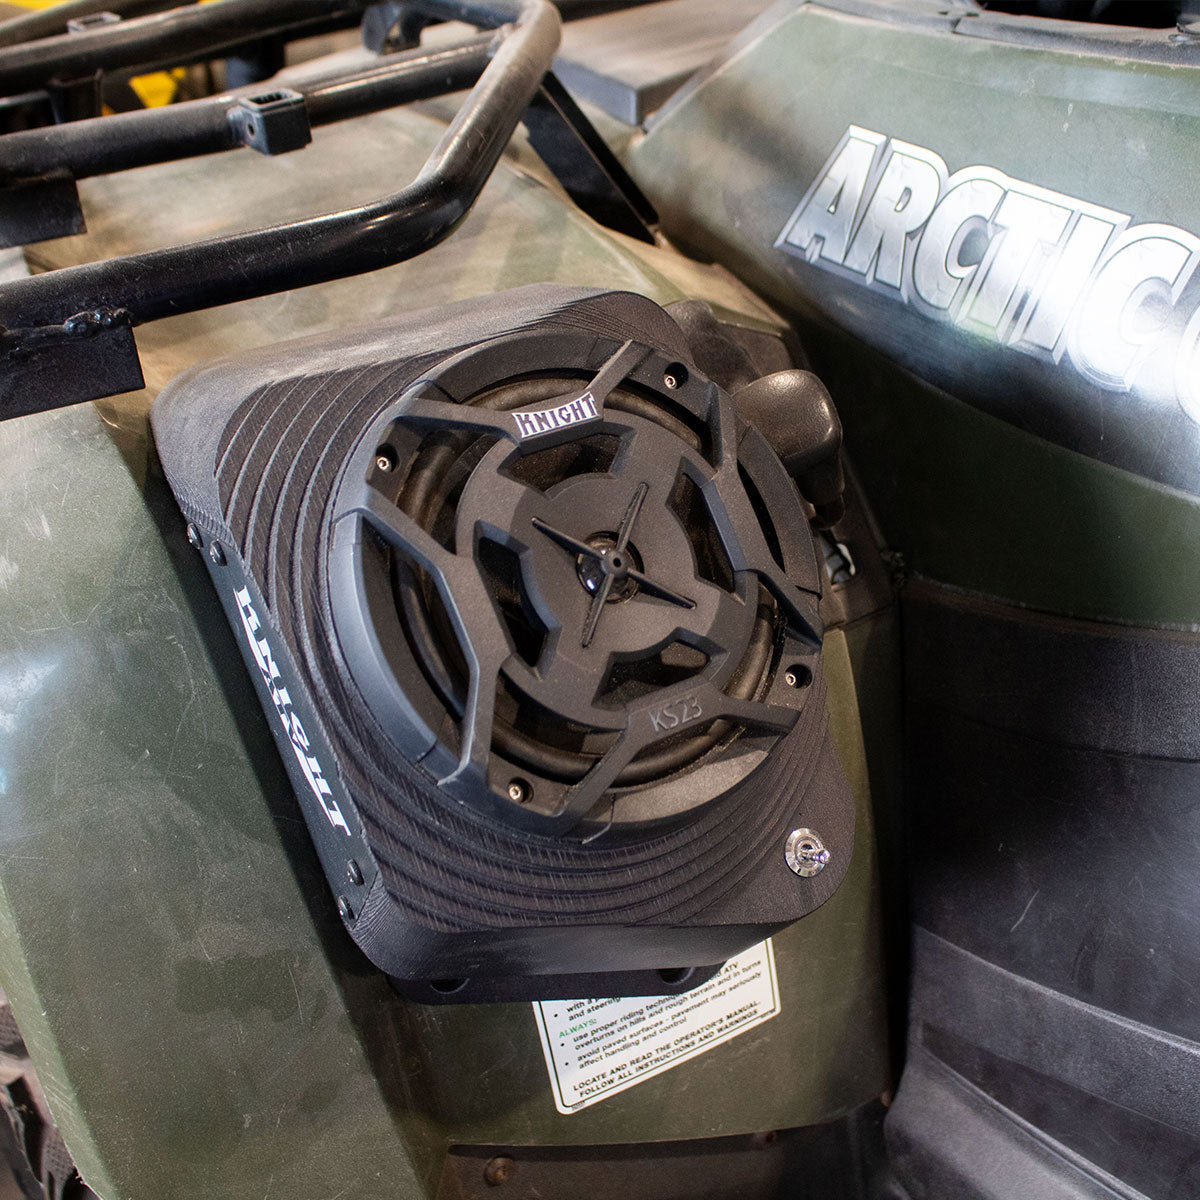
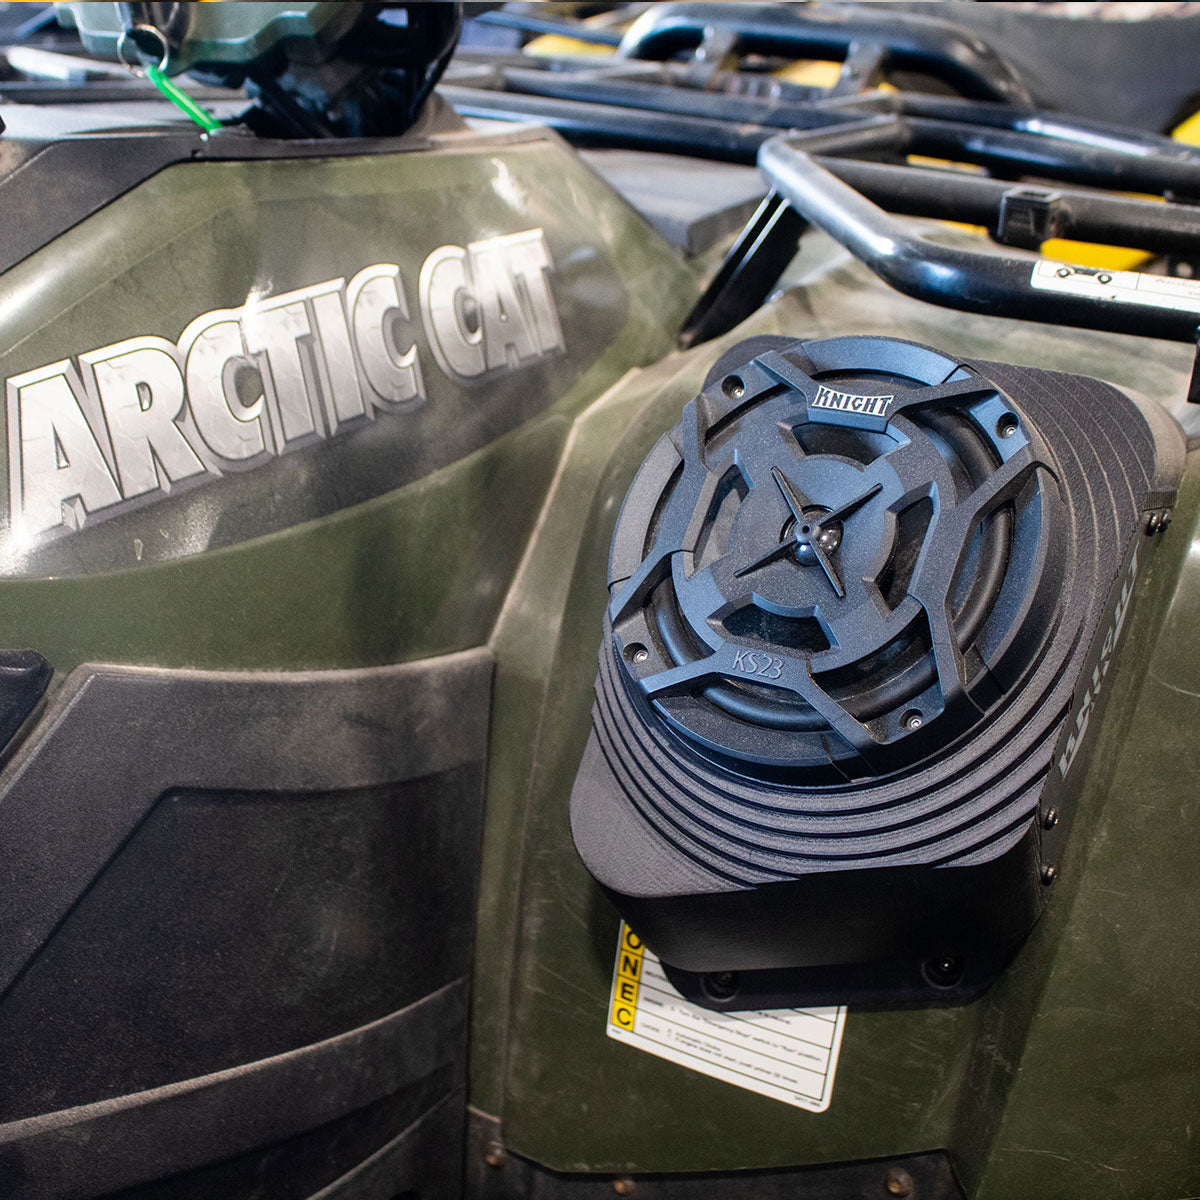
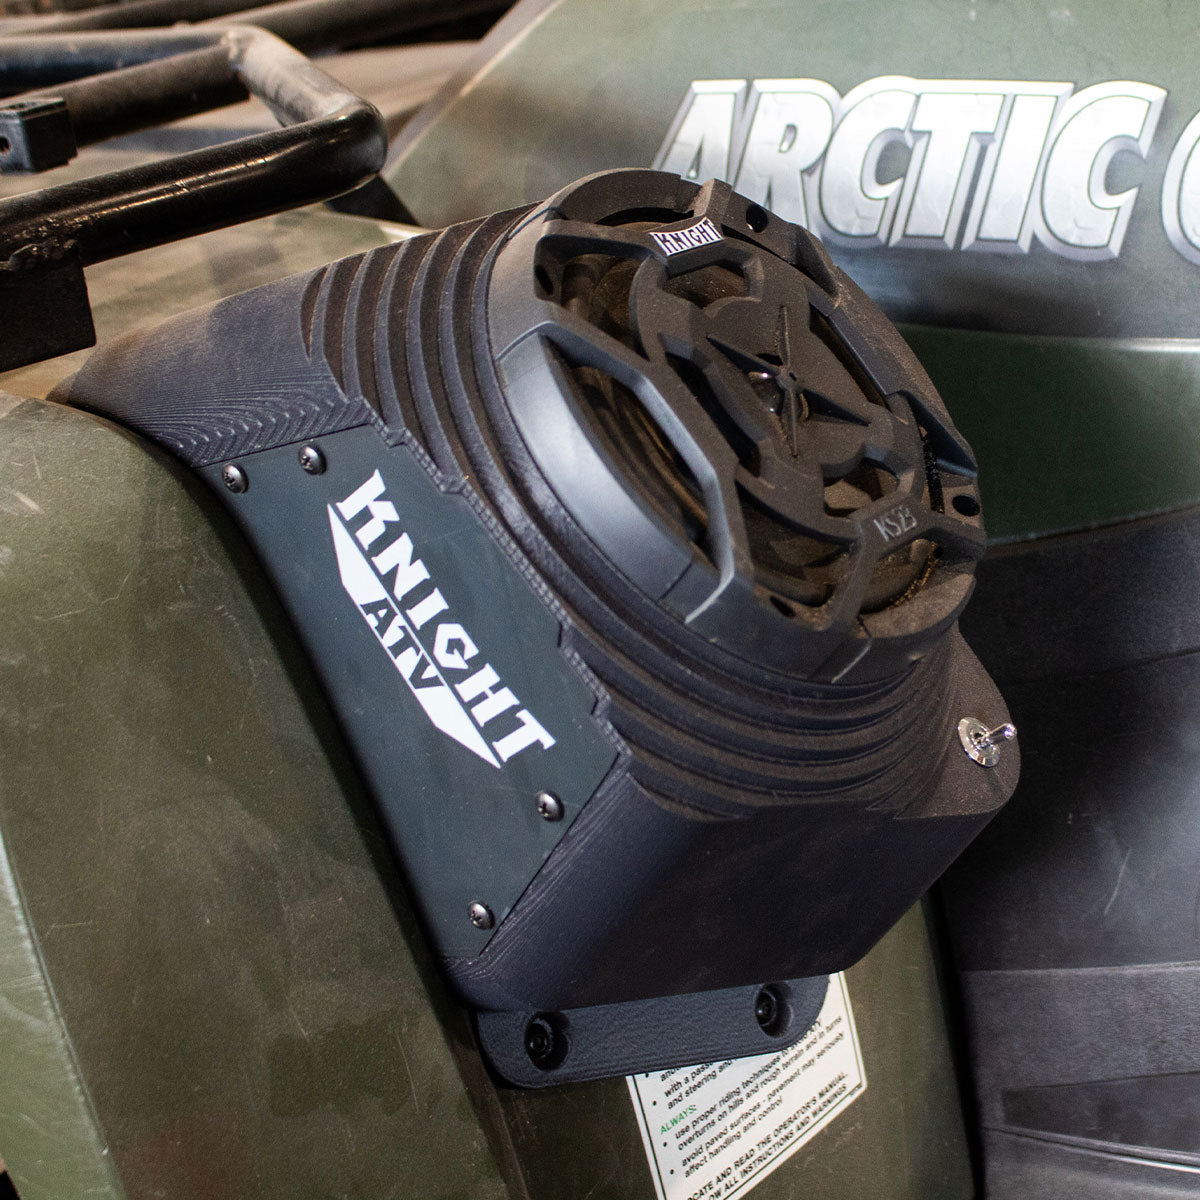
Introducing our new innovative speaker housings for your ATV! Custom laser scanned and CAD designed speaker housings fit perfectly snug on your OEM fender plastics. These are speaker housings only so you can build your own speaker kit. These speaker housings fit 6.5" speakers.
Unique Features:
Custom fit. Laser scanned and 3D modeled specifically for Arctic Cat ATV fender plastics.
Fits
Model 1 Fitment
- 2006- 400 manual
- 2007- 400 automatic
- 2008- 400 automatic
- 2010- 450, 550 H1, 650 4x4 automatic
- 2011- 450, 550s H1, 550 H1, 650 H1
- 2012- 450, 550, 650
- 2013- 500, 550
- 2014- 500,550
- 2015- 500
- 2016- 500
- 2017- 500
Model 2 Fitment
- 2010- 400, 500, 550TRV, 650 Mud Pro, 700, 1000
- 2009- 400, 500, 550, 650, 700, 1000
- 2008- 500, 650, 700
- 2007- 500, 650 ,700
- 2006- 500, 650, 700
Included
Unloaded Housings Kit:
- (2) Speaker Housings with waterproof on/off switch
- Mounting Hardware
Installation
After you purchase your speakers and amp
- Place the left speaker housing (the one with the amplifier mounted inside it) on the left fender so that it sits flush against the surface, slide it around until you feel it set into its perfect location.
- Drill 4 holes into the fender for the mounting bolts, don't bolt it on yet.
- After that, notice where the wires will be, about center but a little lower than the speaker. Drill a hole near the bottom center of the speaker housing for the wiring harnesses.
- Push all the wires through and then mount the speaker housing to the fender. DO NOT over tighten the bolts to secure the housing to the fender plastic.
- Run the wires for the other speaker, and LED (if purchased), to the right speaker. Somewhere along the front of the quad, keep the wires away from moving and hot parts. Wait to secure these with cable ties until after the speakers are fully installed and tested.
- Line up the right speaker housing on the right fender. Drill the same holes as the left side.
- Push the wires from the left side through that center hole and connect the wires to the speaker and the LED (if purchased), make sure to line up the little arrows on the LED wires.
- Bolt the speaker to the fender, DO NOT over tighten the bolts.
- Run the Black and Red wire from the left speaker to your battery, connect the red wire to positive and black wire to negative.
- Turn it on and connect Bluetooth and test LED's
- Fasten all the wiring away from moving and hot parts using cable ties. Use duct tape or silicone to fill in around the holes that the wires come out of.
- Done! Go ride and enjoy!
Full installation video installing one of our full speaker kits:
Couldn't load pickup availability
Features
Housings Only, No speakers or amplifier or wiring
Introducing our new innovative speaker housings for your ATV! Custom laser scanned and CAD designed speaker housings fit perfectly snug on your OEM fender plastics. These are speaker housings only so you can build your own speaker kit. These speaker housings fit 6.5" speakers.
Unique Features:
Custom fit. Laser scanned and 3D modeled specifically for Arctic Cat ATV fender plastics.
Fits
Model 1 Fitment
- 2006- 400 manual
- 2007- 400 automatic
- 2008- 400 automatic
- 2010- 450, 550 H1, 650 4x4 automatic
- 2011- 450, 550s H1, 550 H1, 650 H1
- 2012- 450, 550, 650
- 2013- 500, 550
- 2014- 500,550
- 2015- 500
- 2016- 500
- 2017- 500
Model 2 Fitment
- 2010- 400, 500, 550TRV, 650 Mud Pro, 700, 1000
- 2009- 400, 500, 550, 650, 700, 1000
- 2008- 500, 650, 700
- 2007- 500, 650 ,700
- 2006- 500, 650, 700
Included
Unloaded Housings Kit:
- (2) Speaker Housings with waterproof on/off switch
- Mounting Hardware
Installation
After you purchase your speakers and amp
- Place the left speaker housing (the one with the amplifier mounted inside it) on the left fender so that it sits flush against the surface, slide it around until you feel it set into its perfect location.
- Drill 4 holes into the fender for the mounting bolts, don't bolt it on yet.
- After that, notice where the wires will be, about center but a little lower than the speaker. Drill a hole near the bottom center of the speaker housing for the wiring harnesses.
- Push all the wires through and then mount the speaker housing to the fender. DO NOT over tighten the bolts to secure the housing to the fender plastic.
- Run the wires for the other speaker, and LED (if purchased), to the right speaker. Somewhere along the front of the quad, keep the wires away from moving and hot parts. Wait to secure these with cable ties until after the speakers are fully installed and tested.
- Line up the right speaker housing on the right fender. Drill the same holes as the left side.
- Push the wires from the left side through that center hole and connect the wires to the speaker and the LED (if purchased), make sure to line up the little arrows on the LED wires.
- Bolt the speaker to the fender, DO NOT over tighten the bolts.
- Run the Black and Red wire from the left speaker to your battery, connect the red wire to positive and black wire to negative.
- Turn it on and connect Bluetooth and test LED's
- Fasten all the wiring away from moving and hot parts using cable ties. Use duct tape or silicone to fill in around the holes that the wires come out of.
- Done! Go ride and enjoy!
Full installation video installing one of our full speaker kits: