Polaris Sportsman Fender Speaker Housings Only
Polaris Sportsman Fender Speaker Housings Only
SKU:SH-1100
Regular price
$249.99 USD
Regular price
Sale price
$249.99 USD
Unit price
per
Shipping calculated at checkout.
- FEATURES
- FITMENT
- INCLUDES
FEATURES
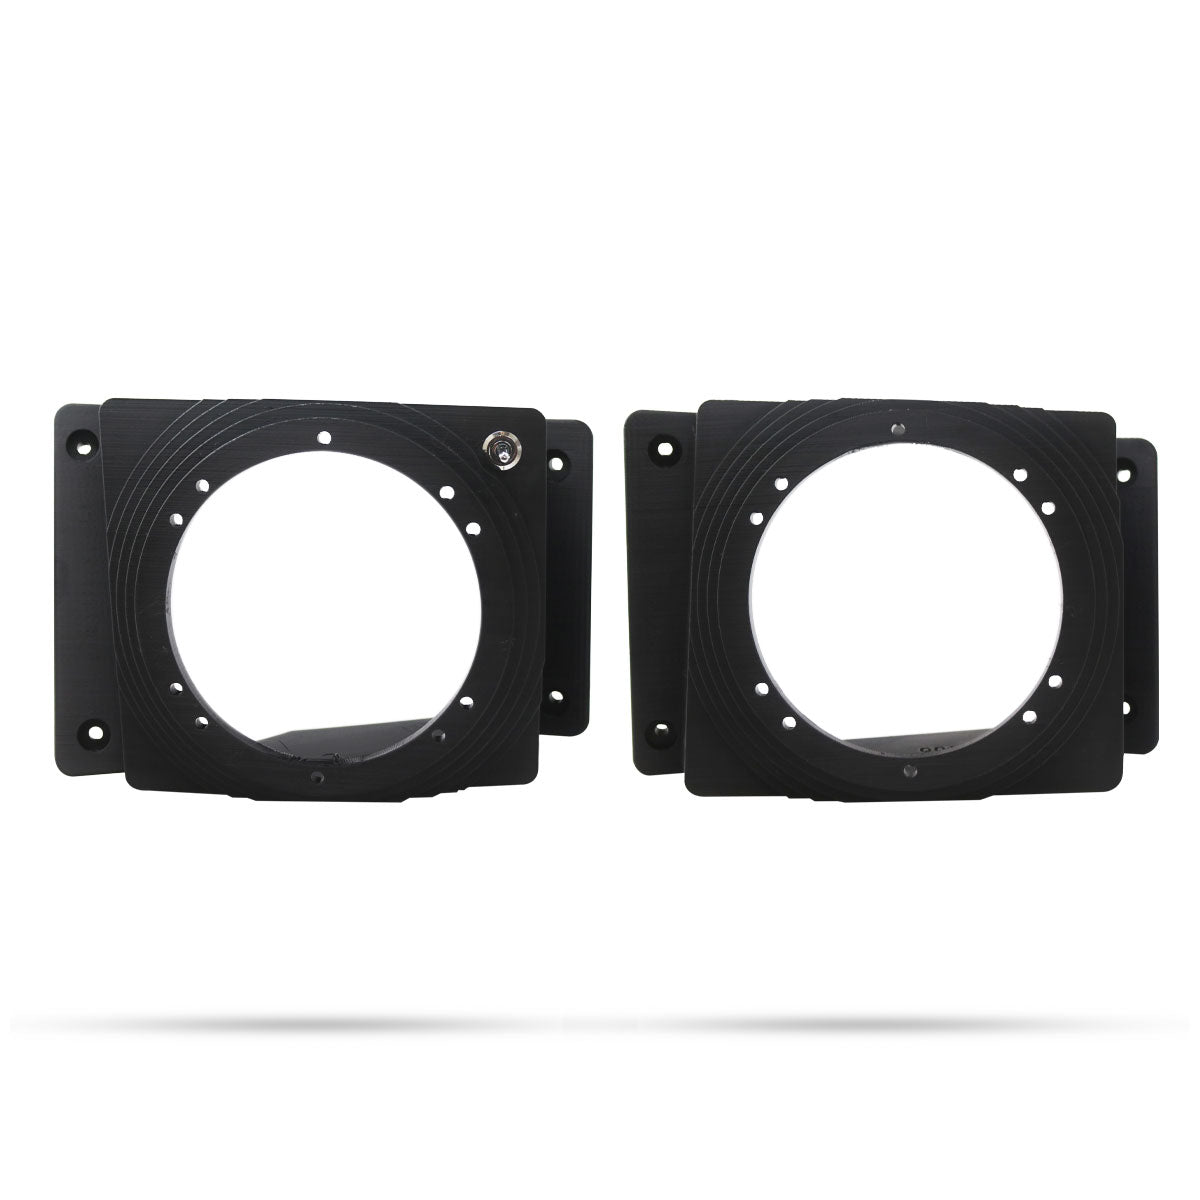
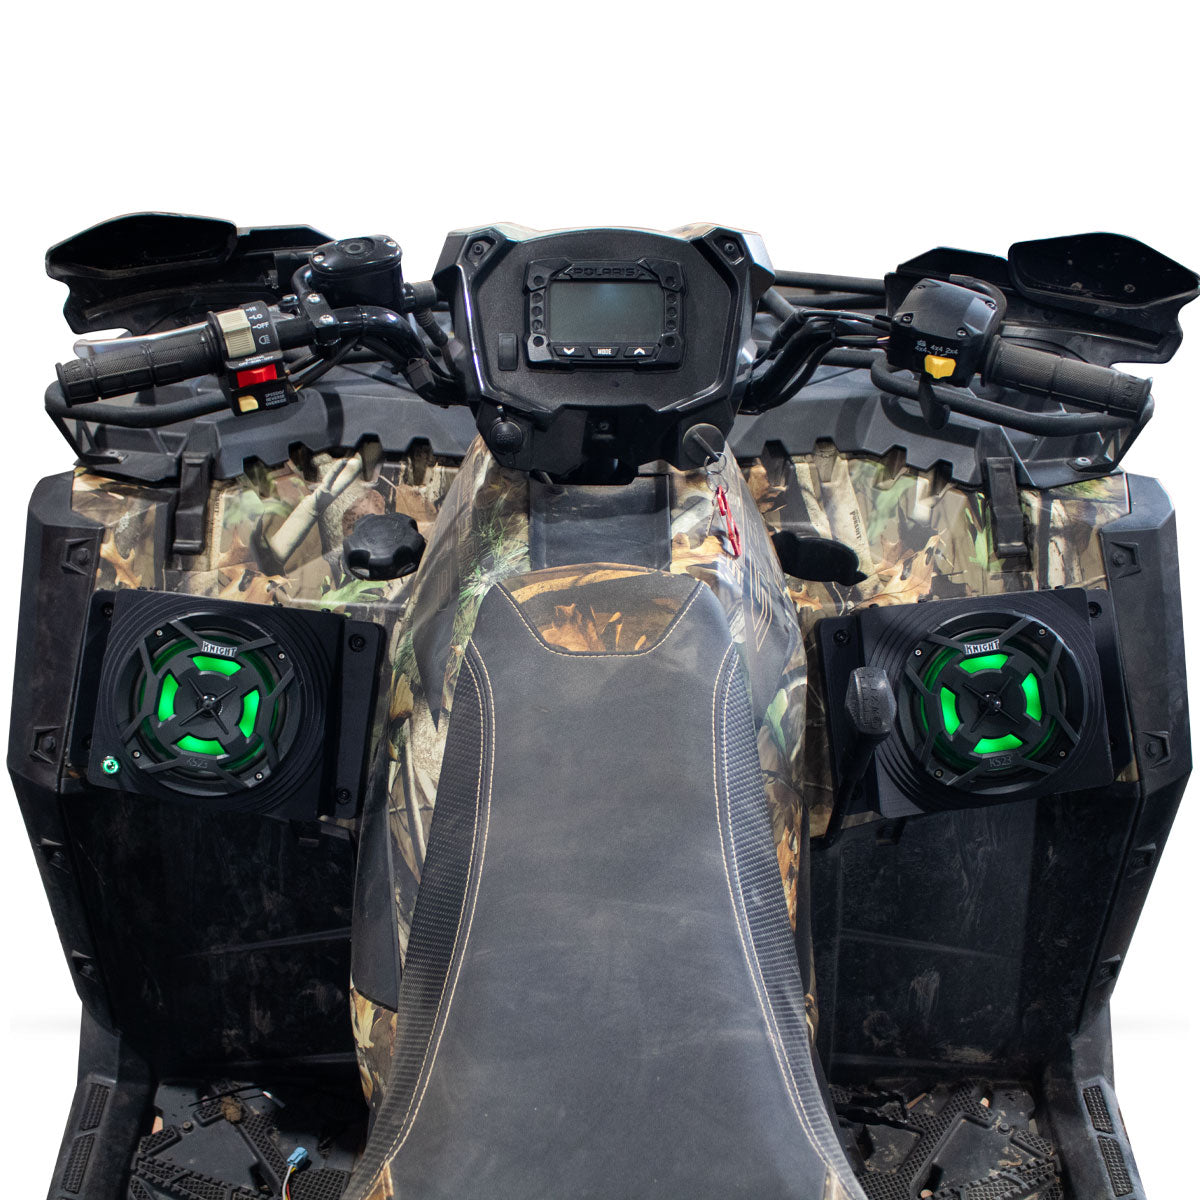
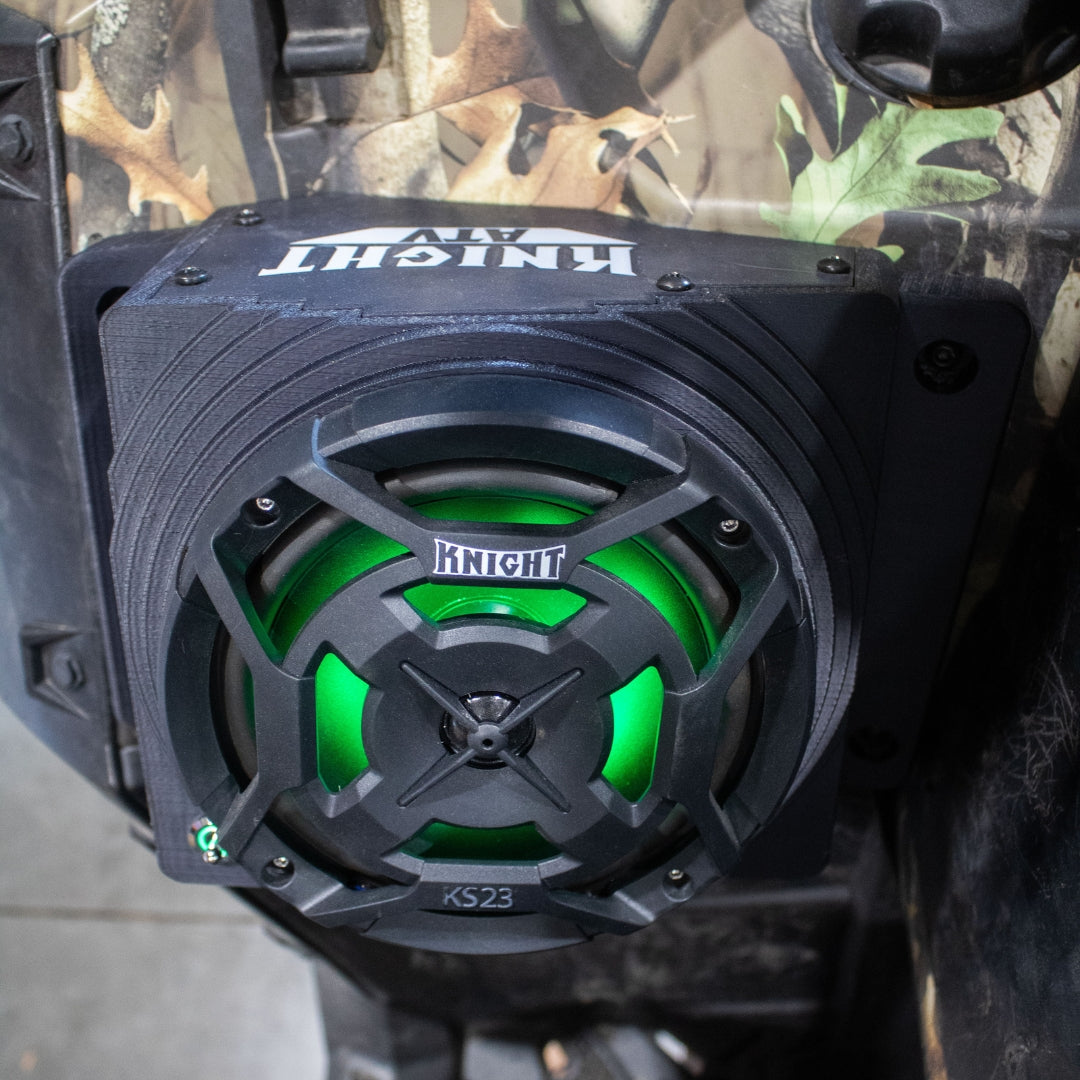
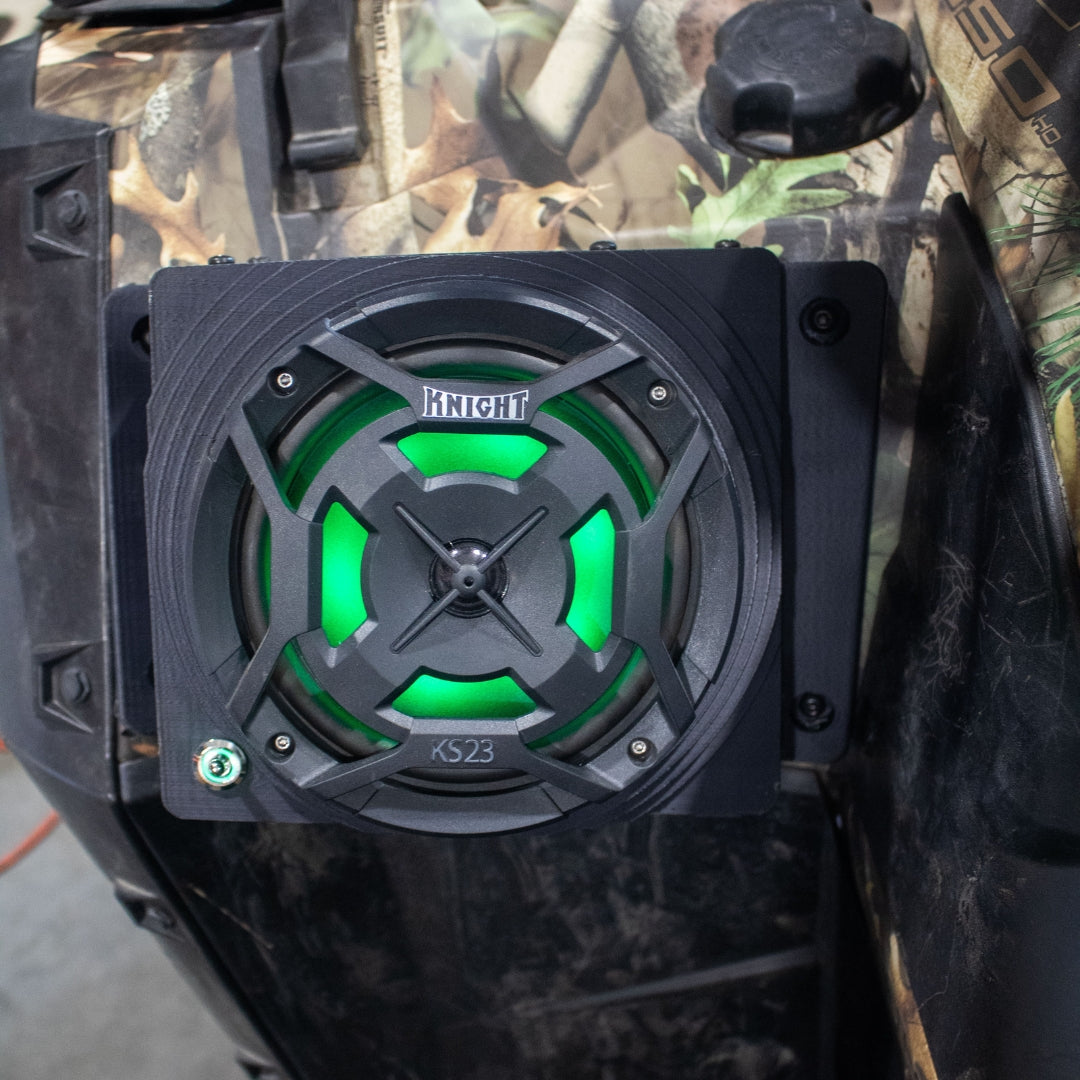
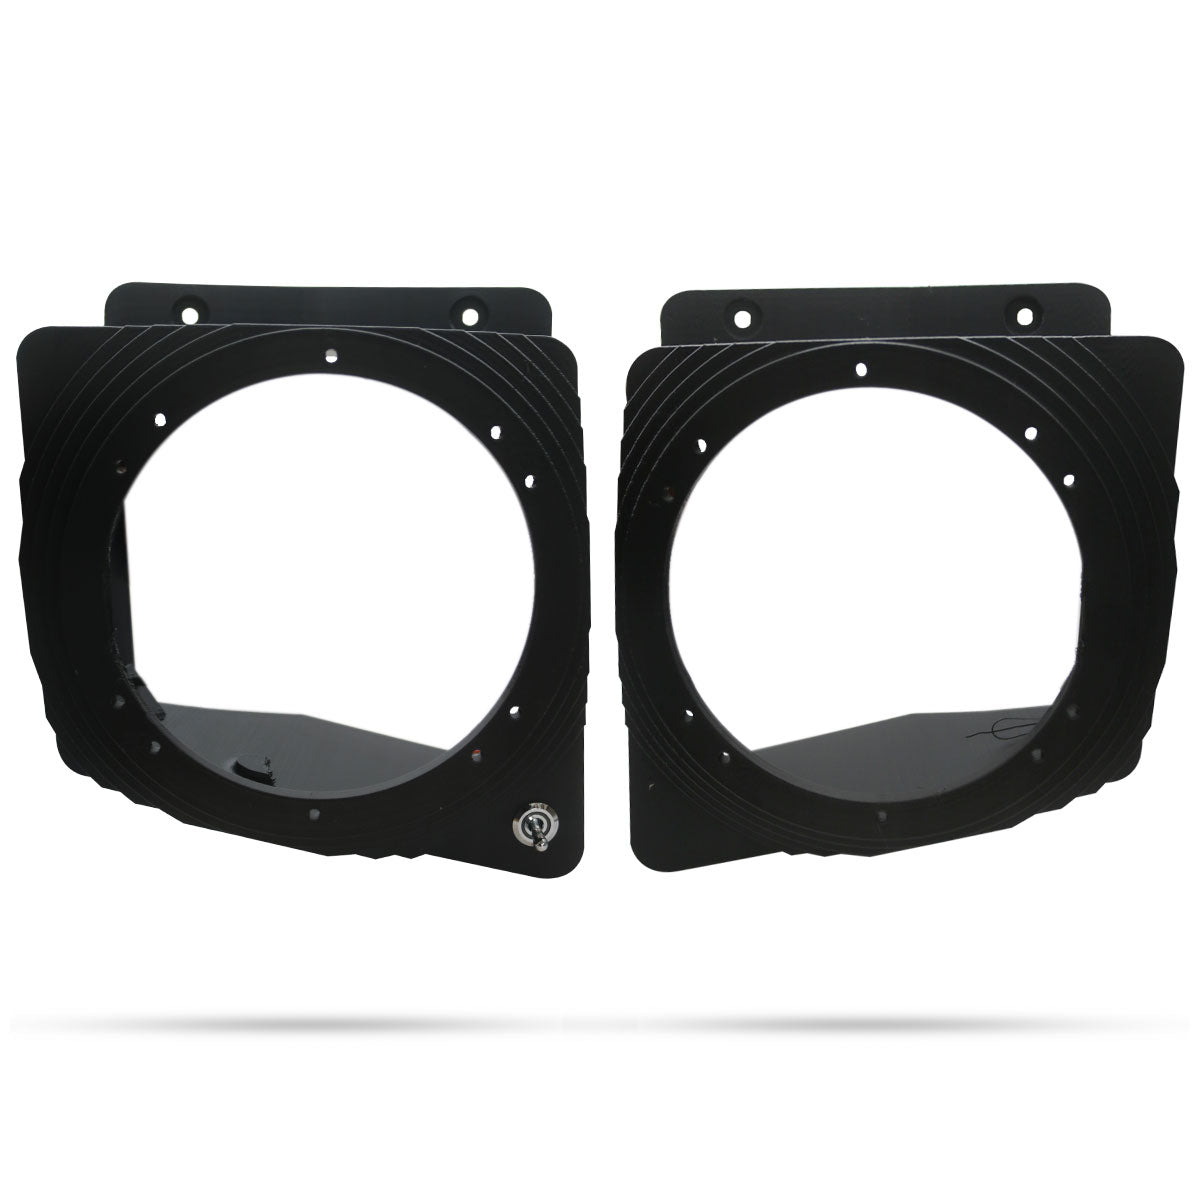
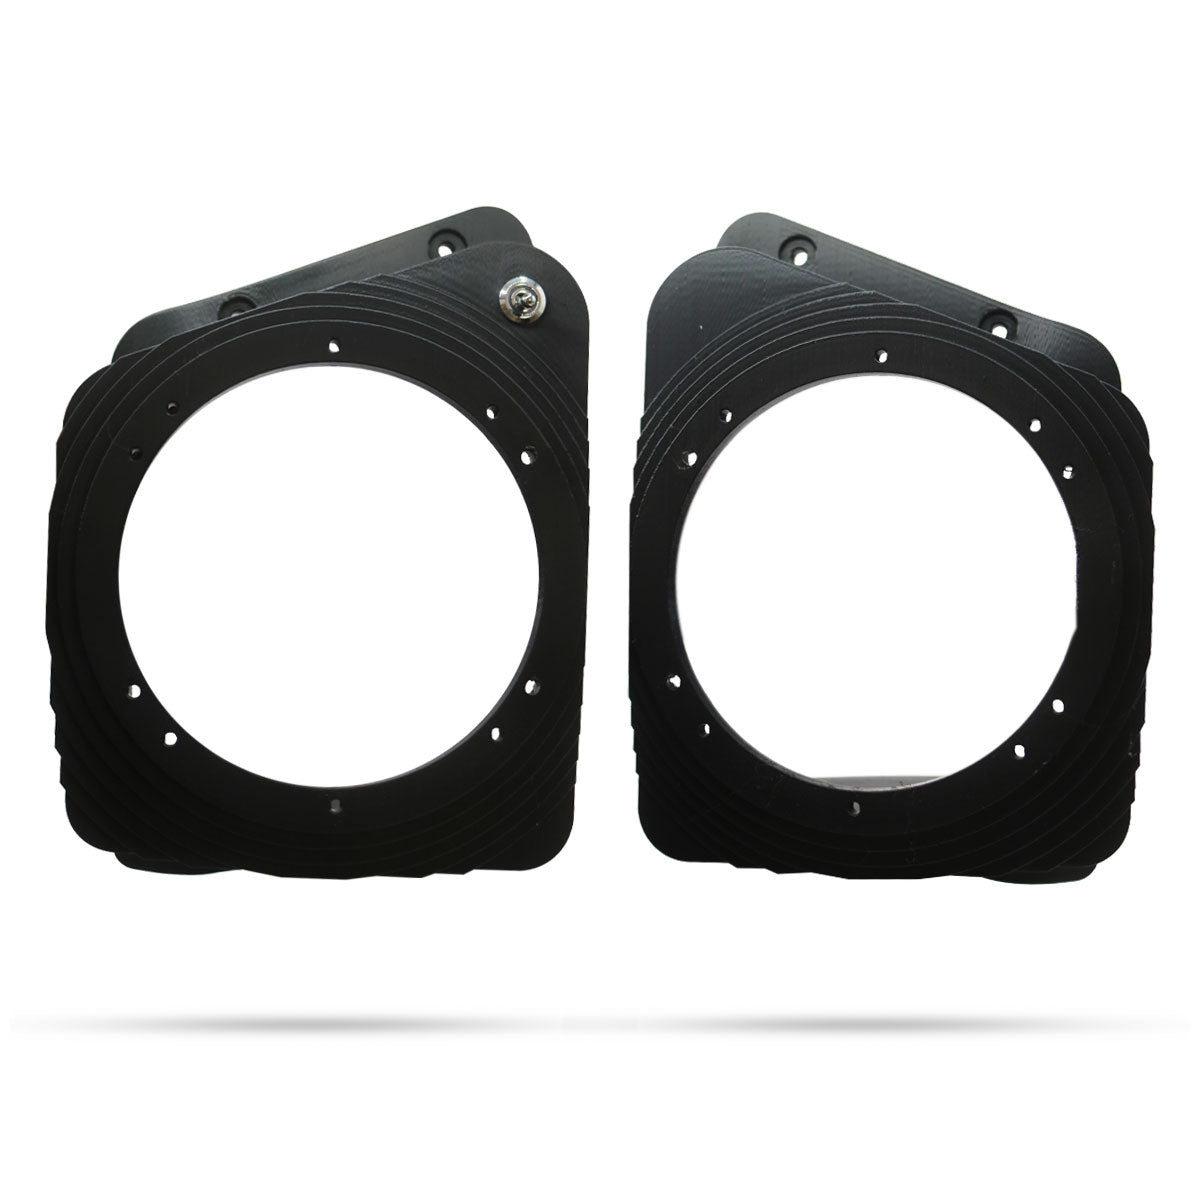
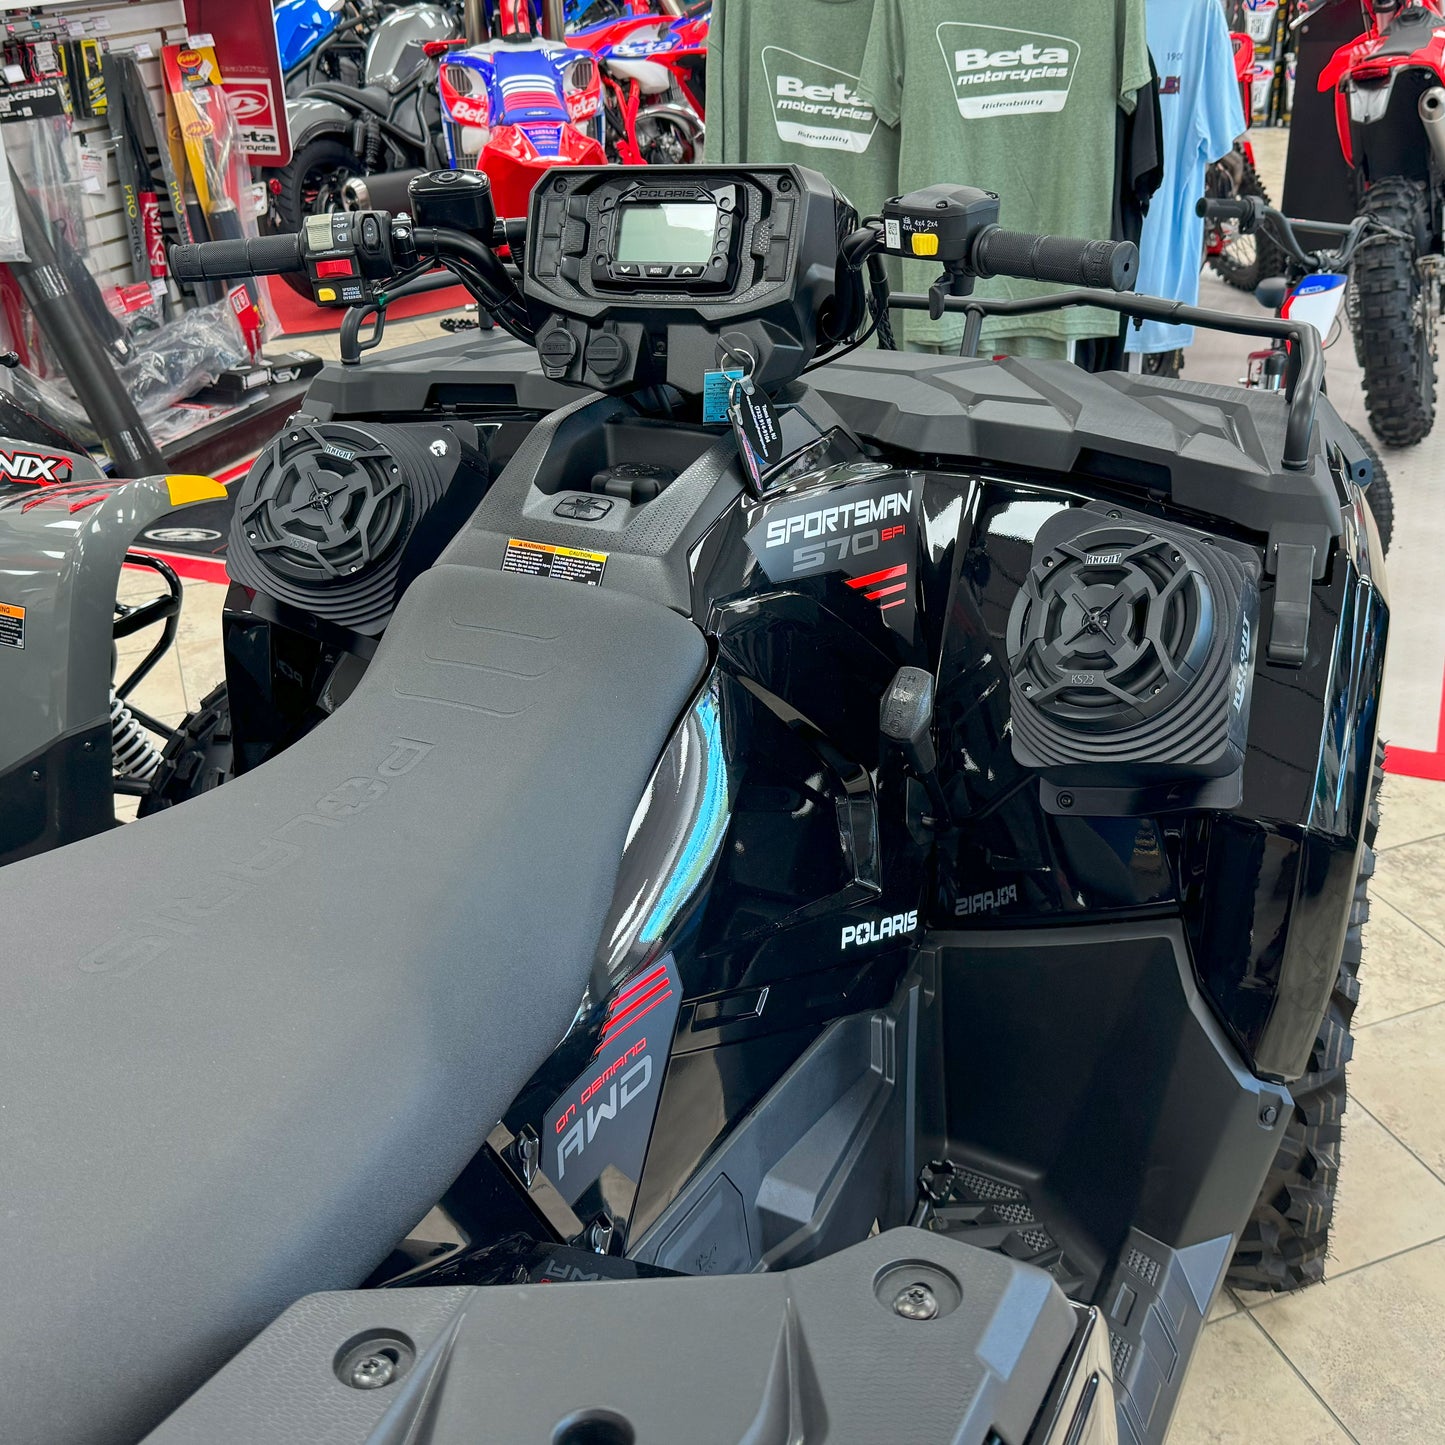
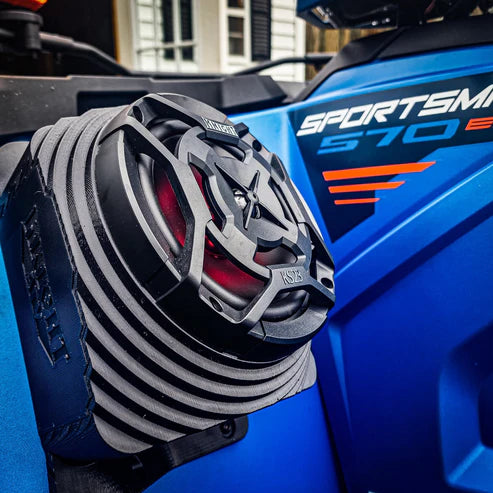
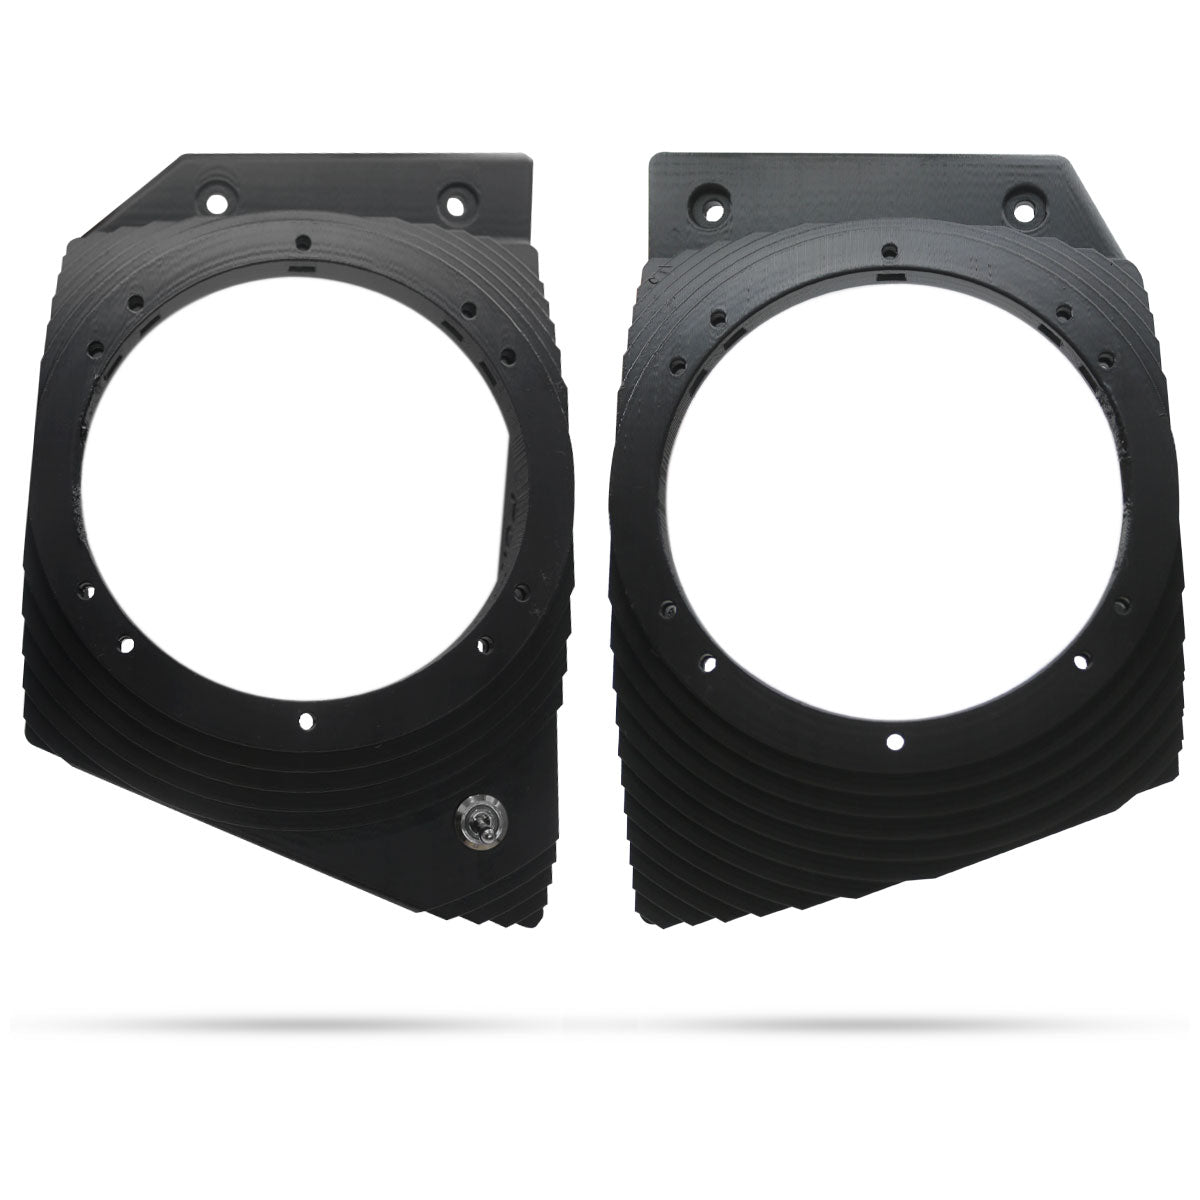
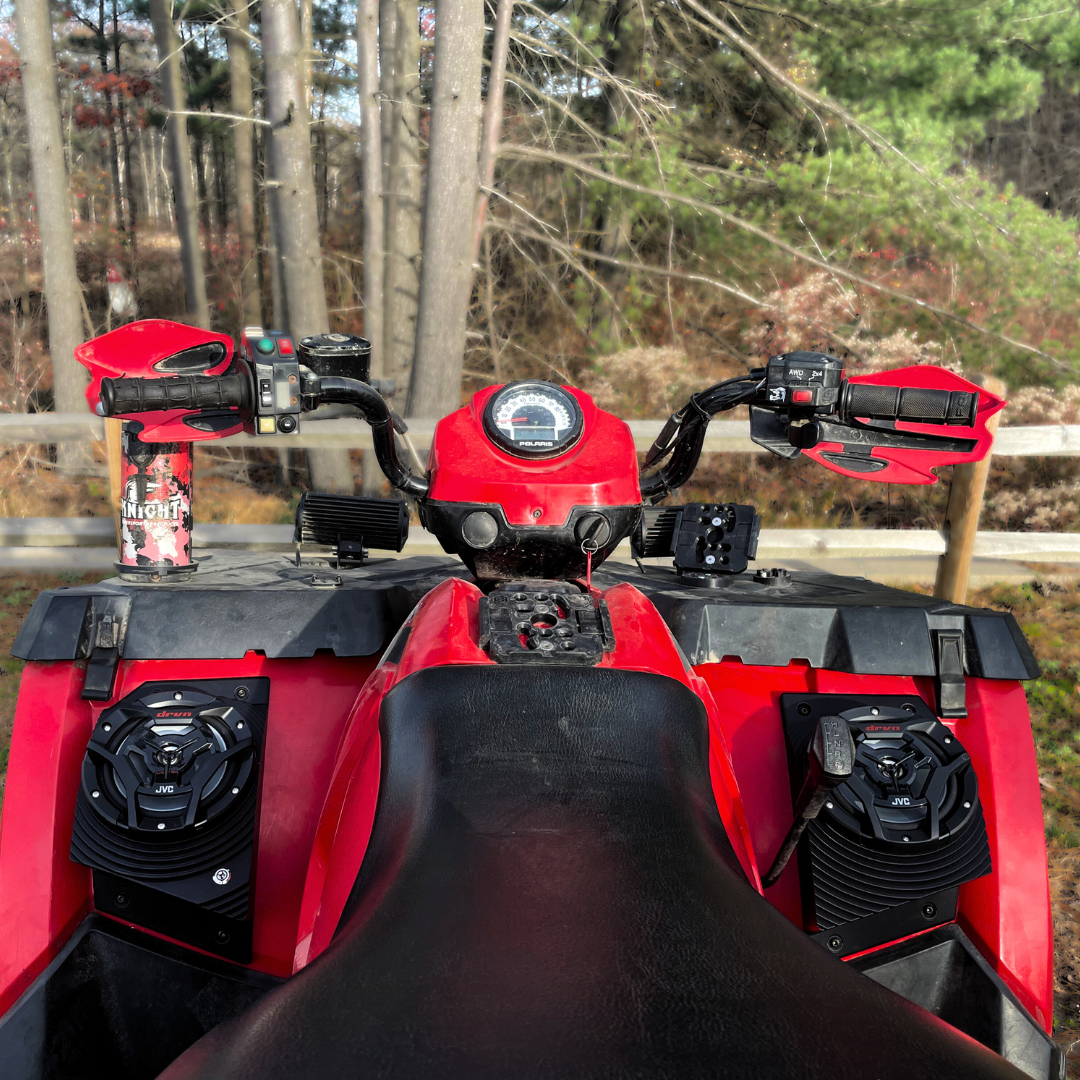
Custom-fit speaker housings designed specifically for the Can-Am Renegade, laser scanned and 3D modeled to fit perfectly on your OEM fender plastics. Housings fit your choice of 6.5" or 8" speakers and are sold as housings only, no speakers, amplifier, or wiring included. Build your own custom speaker kit exactly the way you want it
FITMENT

INCLUDES
- Left and Right Fender Mounted Unloaded Housings
- (2) Speaker Housings with waterproof on/off switch
- Mounting Hardware
Couldn't load pickup availability
FEATURES
Custom-fit speaker housings designed specifically for the Can-Am Renegade, laser scanned and 3D modeled to fit perfectly on your OEM fender plastics. Housings fit your choice of 6.5" or 8" speakers and are sold as housings only, no speakers, amplifier, or wiring included. Build your own custom speaker kit exactly the way you want it
FITMENT
INCLUDES
- Left and Right Fender Mounted Unloaded Housings
- (2) Speaker Housings with waterproof on/off switch
- Mounting Hardware